Step by Step Guide on How to Upload Your Website in cPanel

Launching your website is more than just a technical task; it’s a moment of pride and possibility. It’s the culmination of your ideas, hard work, and dreams, ready to be shared with the world.
Whether it’s a business venture, a personal blog, or a portfolio, taking your website live is like opening the doors to your digital home, inviting people to experience what you’ve built.
Let’s make this moment as smooth and exciting as it should be. Here's a simple, step-by-step guide to help you go live with your website using cPanel—no tech jargon, just clear instructions to launch your website online.
Table of Contents
Step 1: Prepare Your Website Files
Step 3: Upload Files Using cPanel’s File Manager
Step 1: Prepare Your Website Files
Before uploading, ensure that your website files are ready. This includes:
- HTML, CSS, JavaScript files
- Images, videos, and other media
- Any database (e.g., MySQL) or CMS (like WordPress) data, if applicable
- Configuration files (like .htaccess or wp-config.php)
Make sure the website files are organized in a folder on your computer.
Also learn:How to Access my cPanel Correctly.
Step 2: Access cPanel
1. Login to your cPanel: Access your cPanel by navigating to http://yourdomain.com/cpanel or http://yourserverIP/cpanel. You will need to enter your cPanel username and password.
 2. Ensure Your Domain is Pointing to the Correct Server: If you just purchased a domain or set up a new one, make sure the domain’s DNS records (usually at your domain registrar) point to your hosting server's IP address. This may take some time to propagate (up to 24-48 hours).
Step 3: Upload Files Using cPanel’s File Manager
1. Open File Manager
- In cPanel, find the File Manager tool (usually under the "Files" section) and click on it.

2. Navigate to the Correct Directory:
- For a default website, go to the public_html directory. This is the root directory for most websites.

- If you're uploading to a subdomain or addon domain, navigate to the corresponding directory (e.g., public_html/subdomain_name).
Do you know how to clear cache? Learn how to clear cache from cPanel.
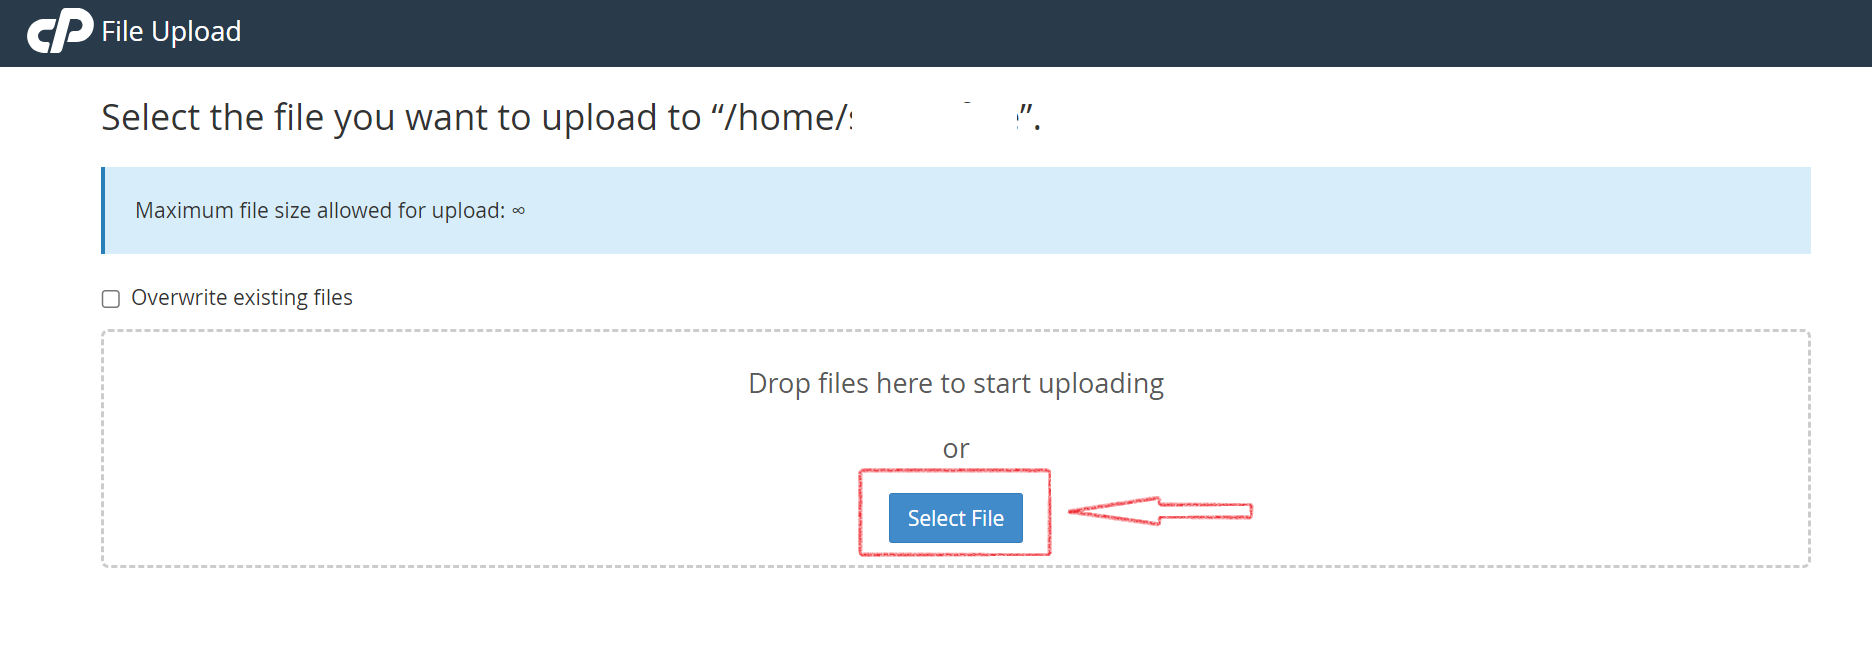
3. Upload Your Website Files:
- Click on the Upload button in the top toolbar.

- Select your website files from your computer to upload them. You may want to compress the files into a .zip archive for faster uploading if you have many files.
You might be Interested: How to Release Spam email Using Spam Experts Spam Protection
- If you uploaded a .zip file, you can extract it by selecting the file and using the Extract button in File Manager.
Step 4: Set Up Your Database (if applicable)
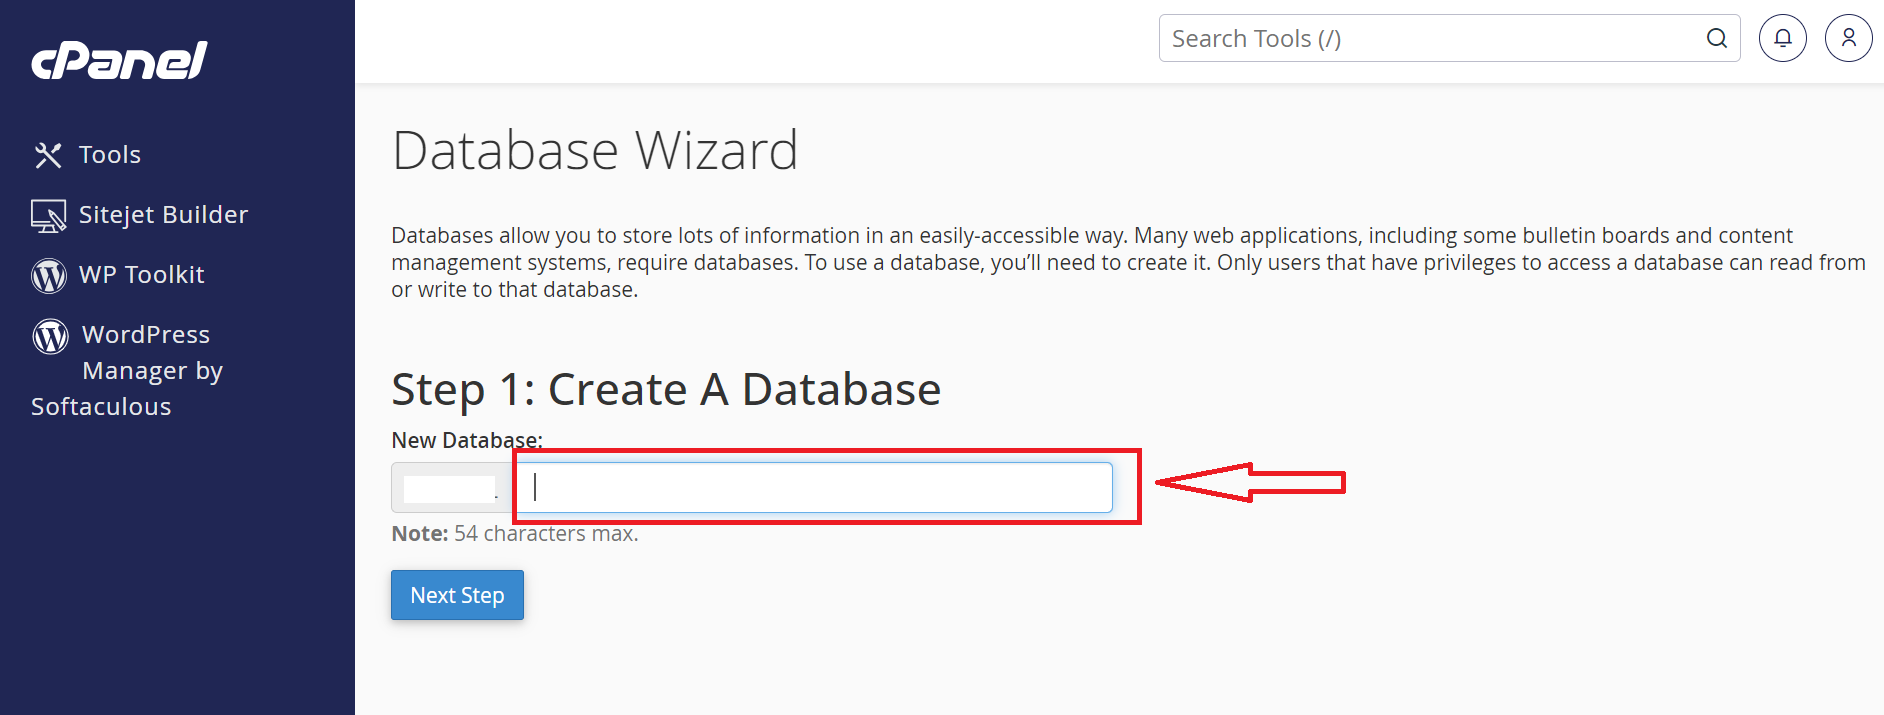
1. Create a Database
- Go to the MySQL Databases section in cPanel.

- Create a new database and note the name.
- Create a new MySQL user with a strong password
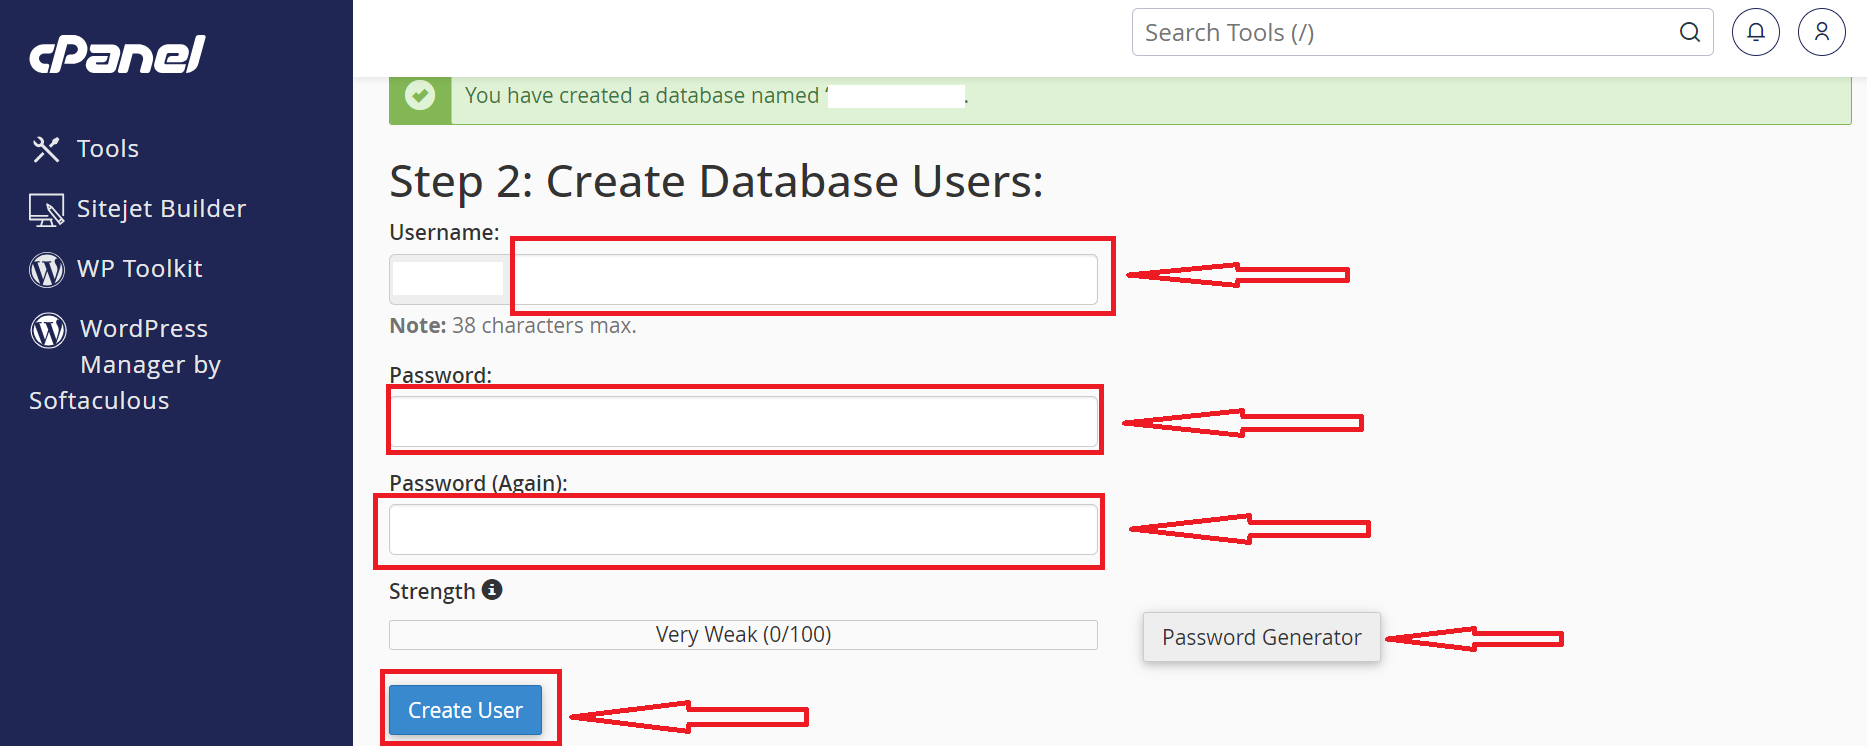
and assign that user to the database, granting it all privileges.

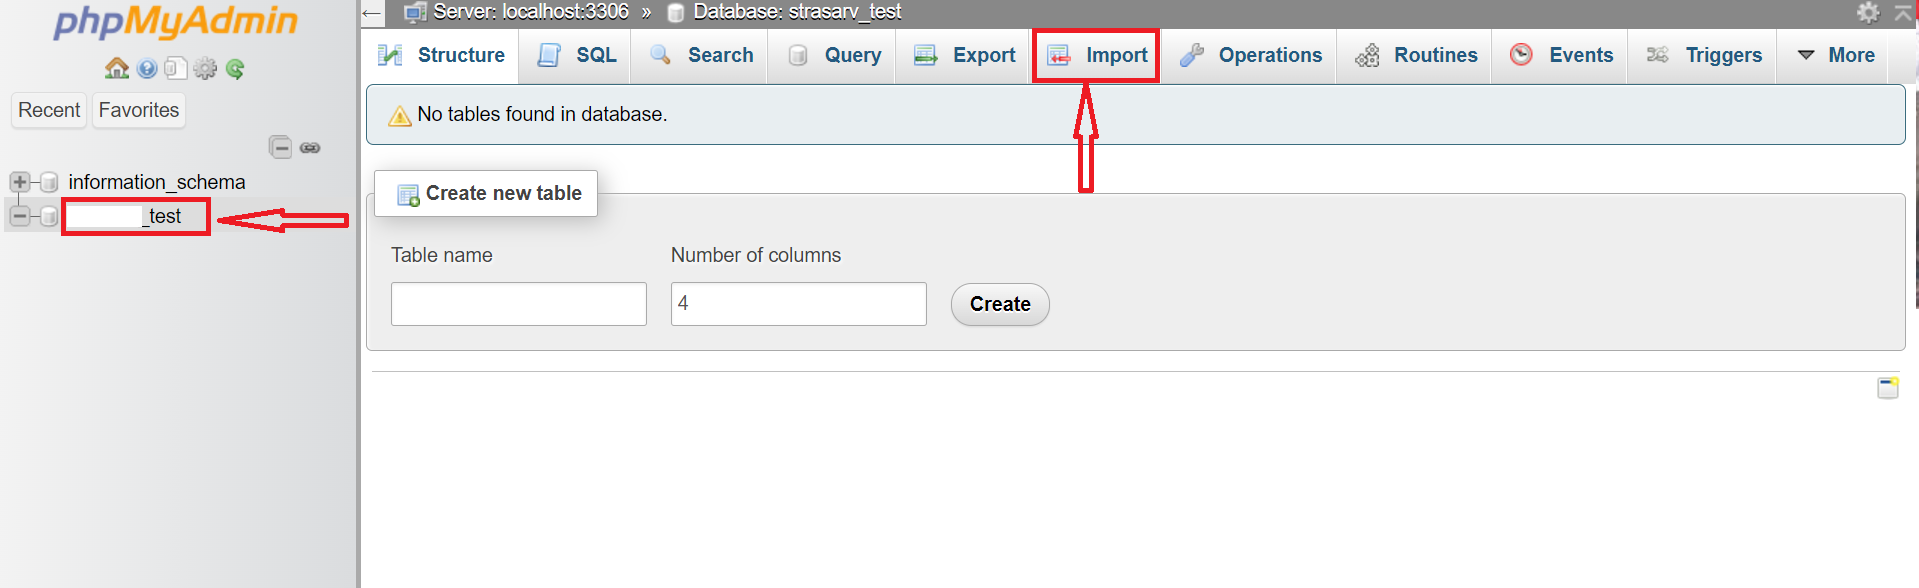
2. Import Your Database (if applicable)
If your website is dynamic and uses a database, upload the SQL file (e.g., database.sql) via phpMyAdmin
- In cPanel, find and click phpMyAdmin under the "Databases" section.
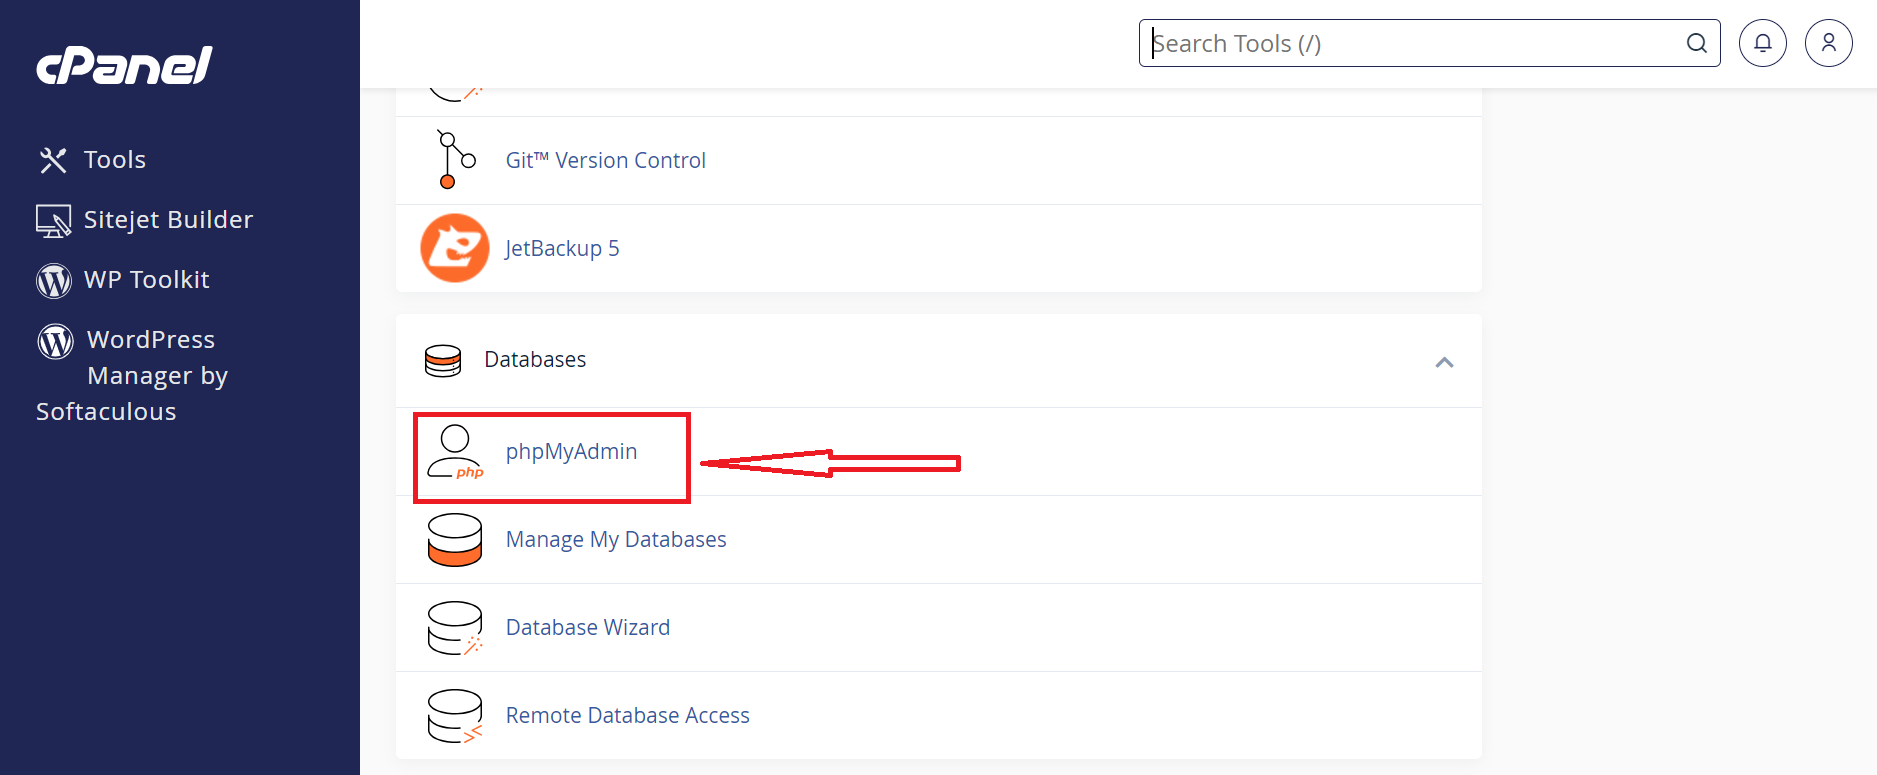
- Select your database, then click Import in the top menu to upload your SQL file.
3. Update Configuration Files
- For CMS like WordPress, make sure you update the wp-config.php file and click edit on top toolbar
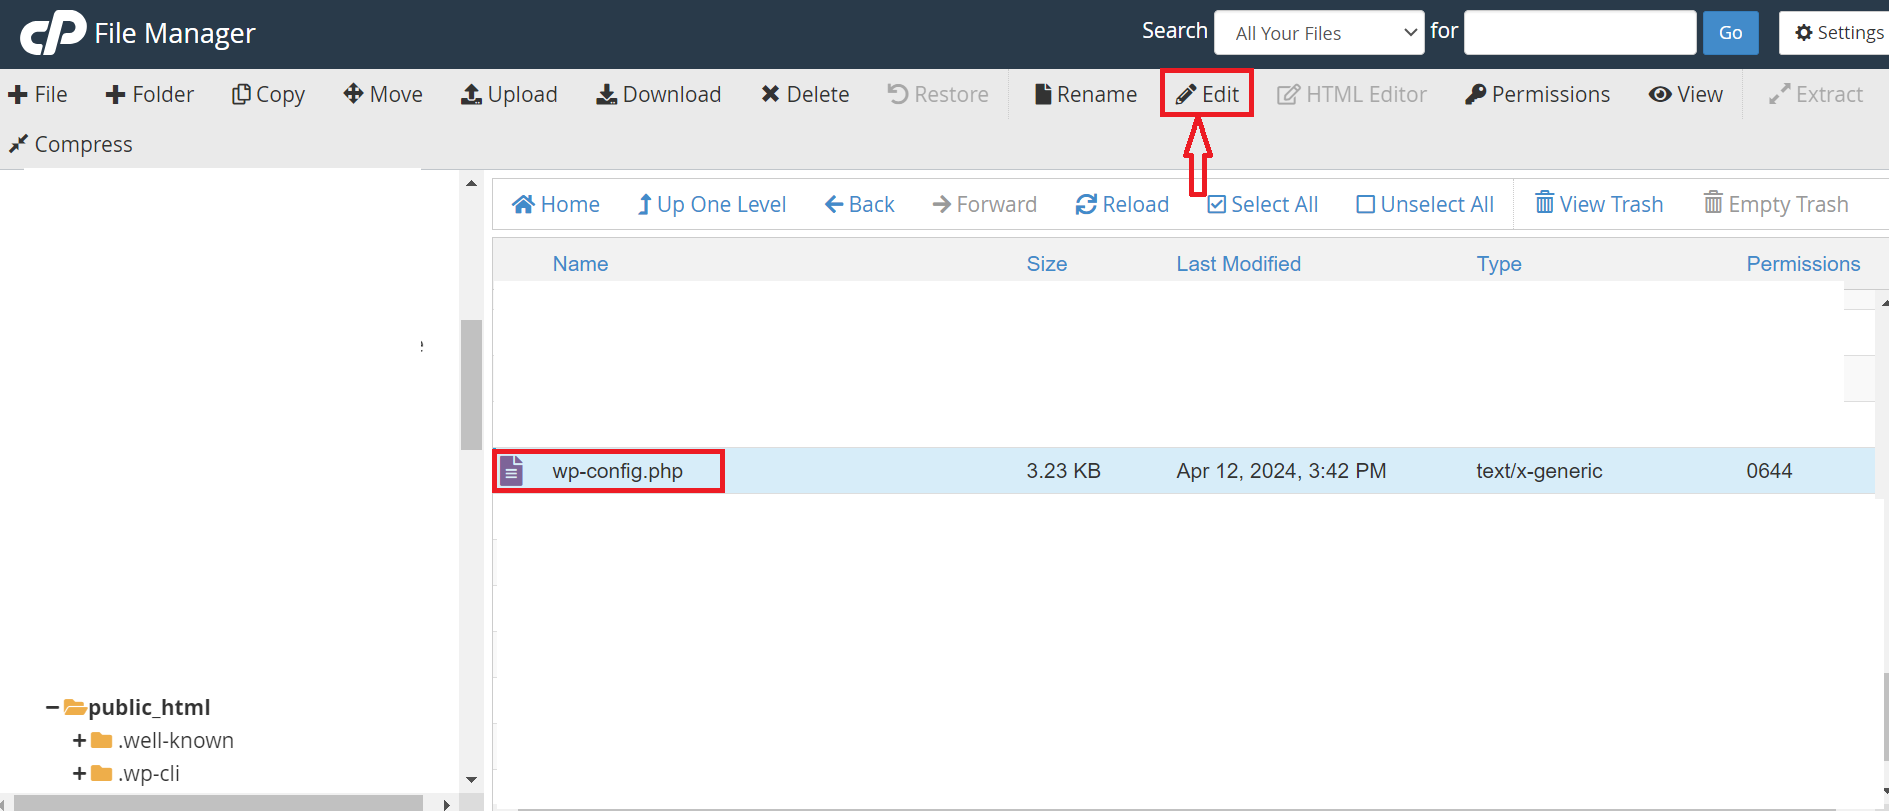
database details (database name, username, password, and server)

- If it’s a custom website, check your website’s configuration files for database connection settings.
4. Update WordPress Permalinks
Update the WordPress permalink to ensure all pages are accessible in the front end. To update the permalink in WordPress, you can do the following:
- Log in to your WordPress dashboard
- Go to Settings then Permalinks
- Choose the permalink structure you want to use
- Click Save Changes
Step 5: Test Your Website
1. Check for Errors
Before announcing your site is live, test it on multiple browsers and devices. Check for missing images, broken links, or other issues.
2. Make Sure Permissions are Correct
File permissions must be set correctly to avoid errors. In File Manager, check if your files have appropriate permissions (e.g., files should be 644, directories 755).
3. Clear Cache
If your site is not displaying correctly, clear your browser cache or try accessing the site in an incognito window.
Do you know how to Create a New Folder in cPanel File Manager?
Step 6: Finalize
1. SSL/HTTPS
If you want your site to be secure with HTTPS, check if your hosting provider offers a free SSL certificate (many do via cPanel). You can enable it through the SSL/TLS section in cPanel.
2. Backup
It’s always a good practice to take a backup of your website after going live. You can use the Backup feature in cPanel to download a full website backup.
Step 7: Announce Your Website
Once everything is working as expected and you’ve verified the website is live, you can announce it through social media, email newsletters, or other marketing channels.
Check also: What is the Difference between cPanel and Client Area?
I hope that was helpful. In case you experience any problem reach out to us and we will help. Also give us a thumbs up to help other people get this useful information.


