How to Create a Database and Database User in cPanel

A database is an organized collection of data that websites and applications use to store information. Whether you are running a blog, an e-commerce site, or a custom web application, databases are essential for managing content, user accounts, and other critical data.
In most web hosting environments, cPanel is a widely used control panel that simplifies the process of creating and managing databases. This includes setting up a database, creating a user to access it, and assigning permissions to ensure secure and efficient data handling.
Creating and managing your database properly is crucial for the smooth operation of your website or app. It allows you to:
- Store Data Efficiently: Save structured information like product details, user profiles, or transaction records.
- Retrieve Information Quickly: Access and display data in real-time, such as when a customer browses your online store.
- Maintain Security: Control who can access or modify sensitive information by assigning user-specific privileges.
This guide will walk you through the steps to set up a database and its user in cPanel, ensuring your site operates effectively and securely.
Table of Contents
1. Procedure to Create a Database and Database User in cPanel
3. Common Issues and Troubleshooting
4. Conclusion
Procedure to Create a Database and Database User in cPanel
1. Create a Database
- Log in to cPanel using your username and password.
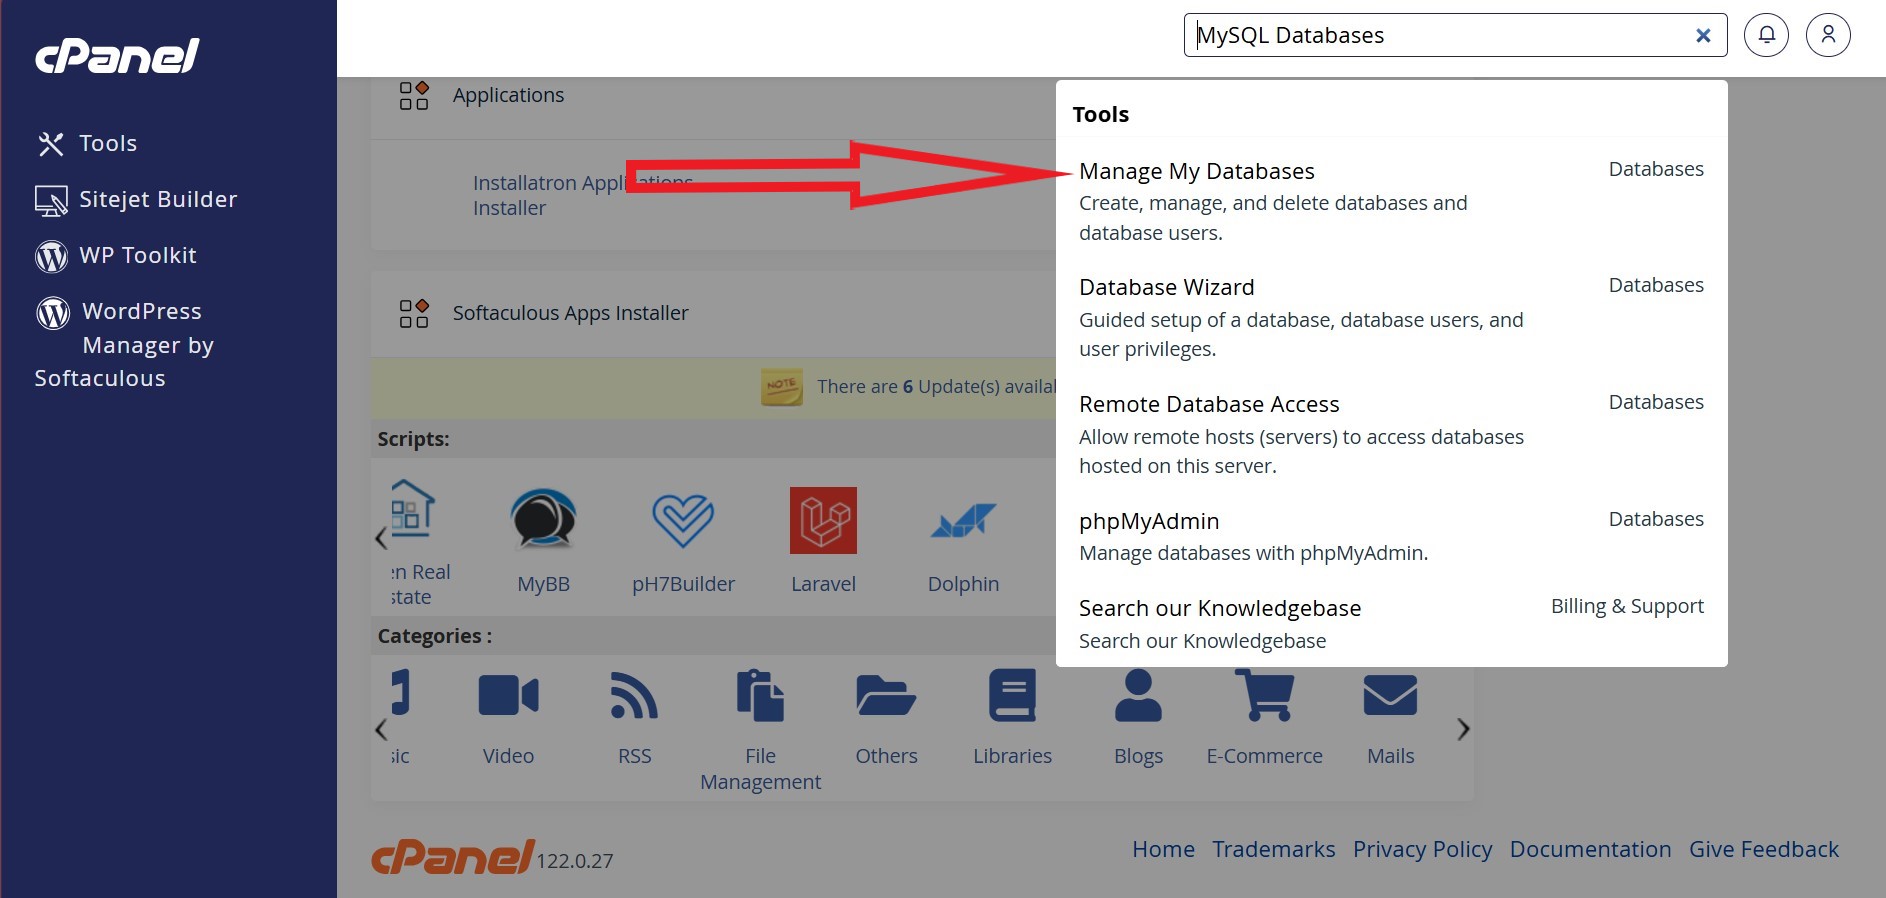
- Click on the MySQL Databases icon.
- Under the Create New Database section, enter a name for your database and click Create Database.
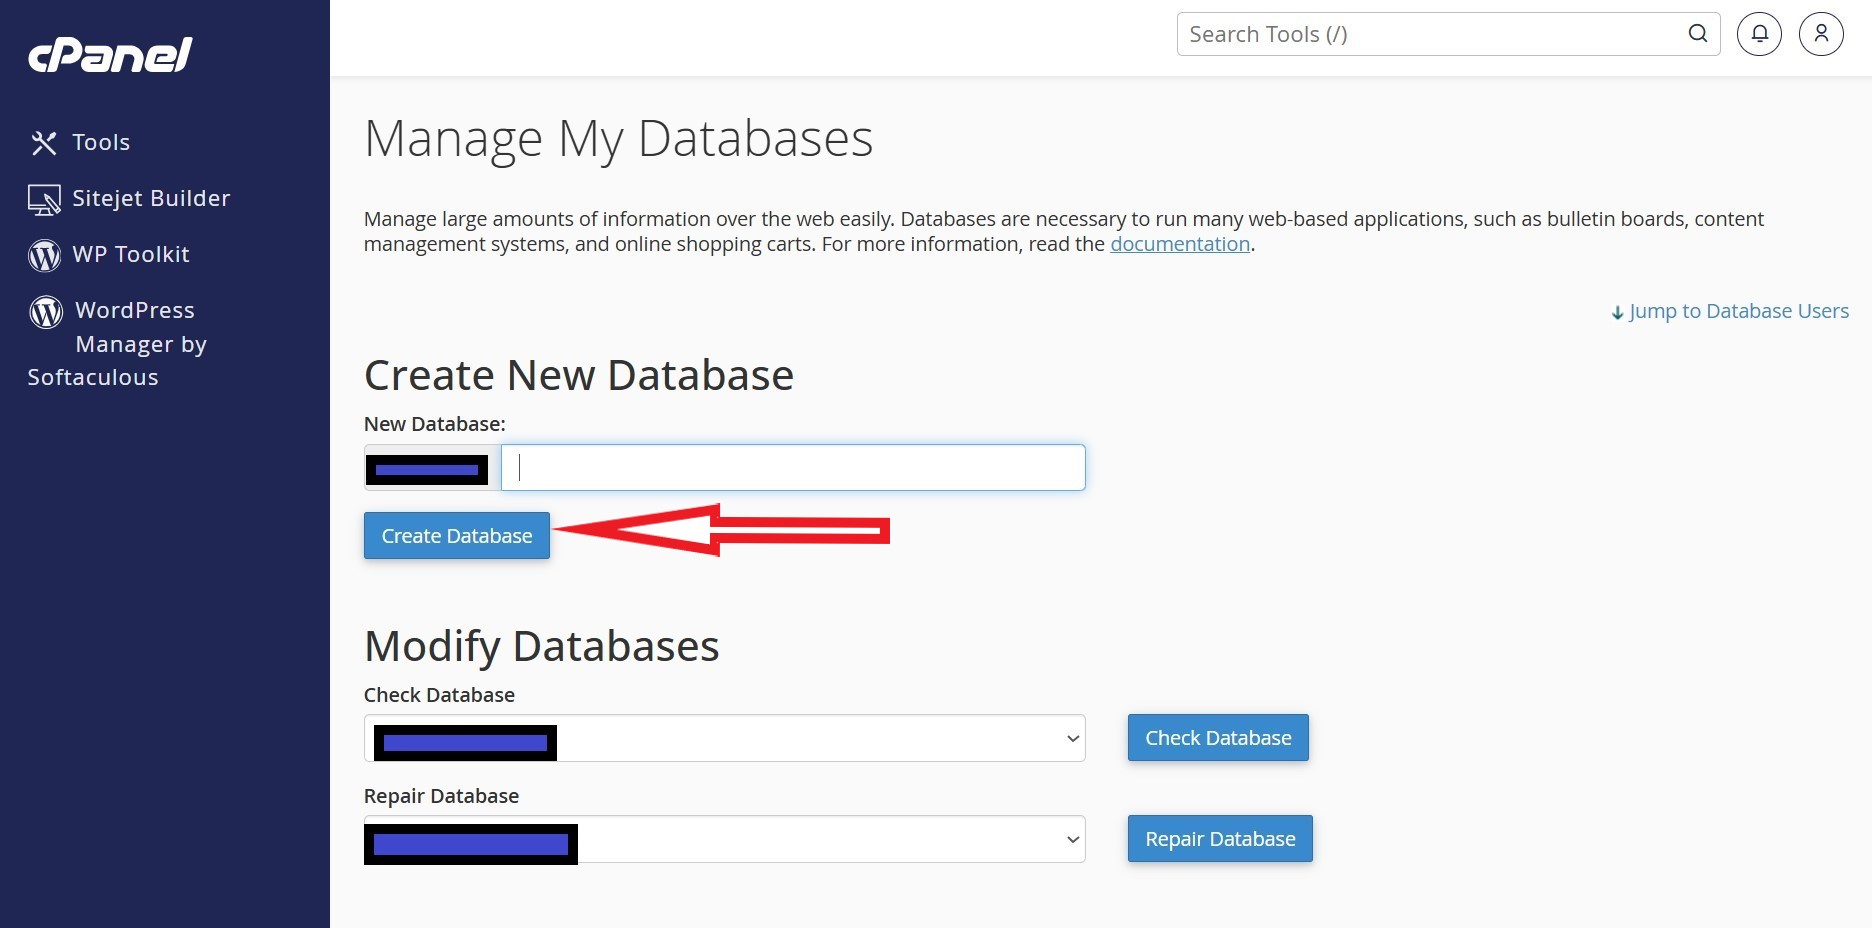
Tip: Use a descriptive name like mywebsite_db to easily identify your database later.
2. Create a User
- On the MySQL Databases page, scroll to the MySQL Users section.
- Enter a username and password for the new user, then click Create User.
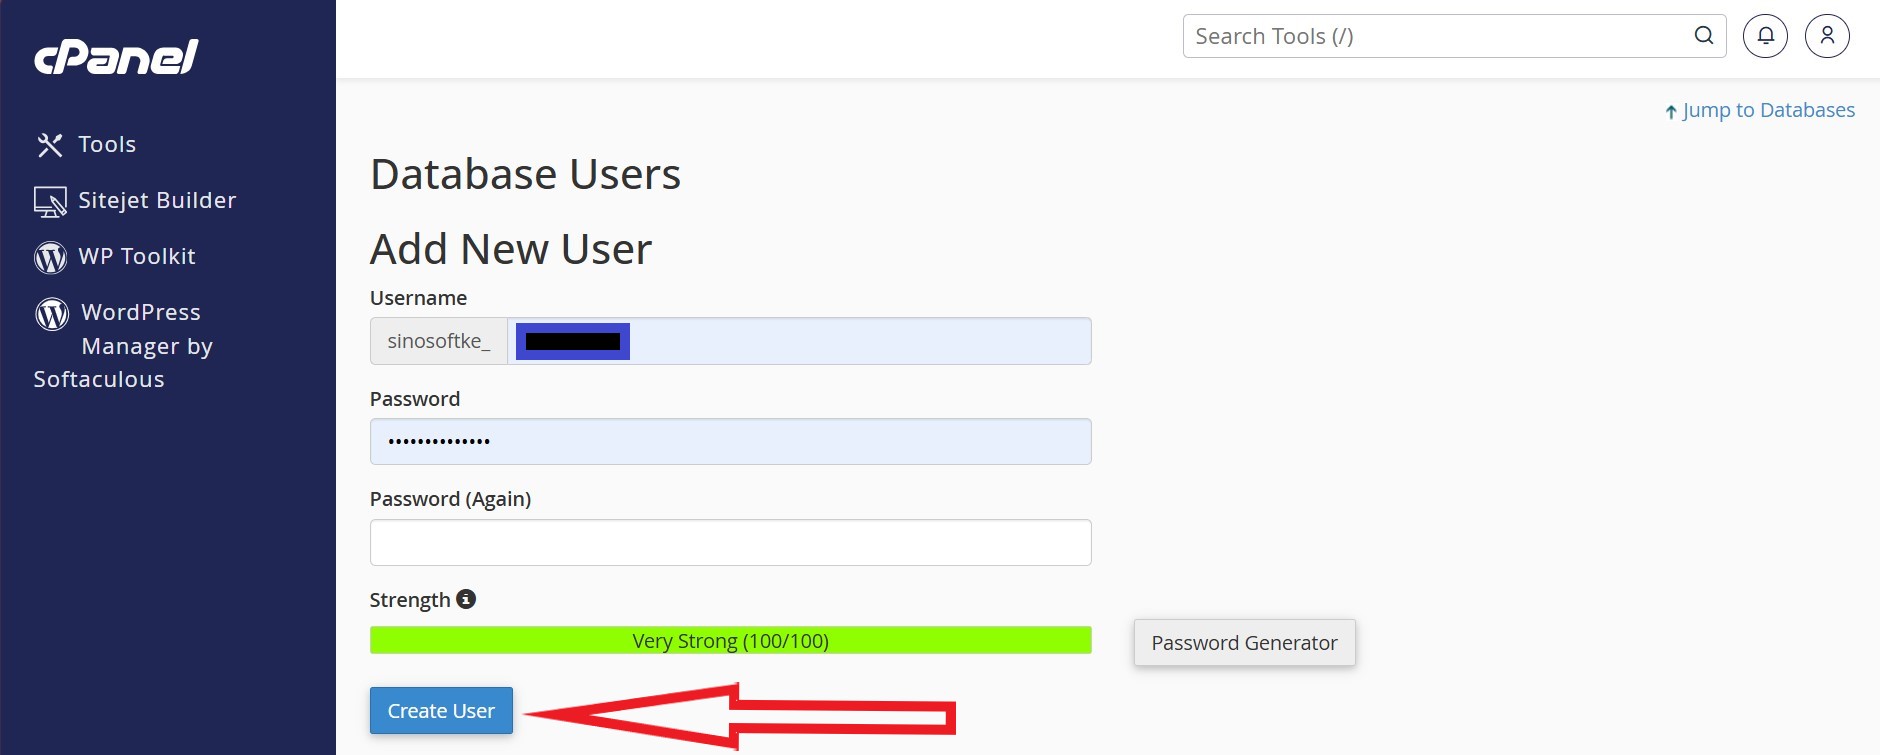
Tip: Use a strong password with a mix of uppercase letters, numbers, and special characters to improve security.
3. Link the User to the Database
- On the MySQL Databases page, scroll to the Add User to Database section.
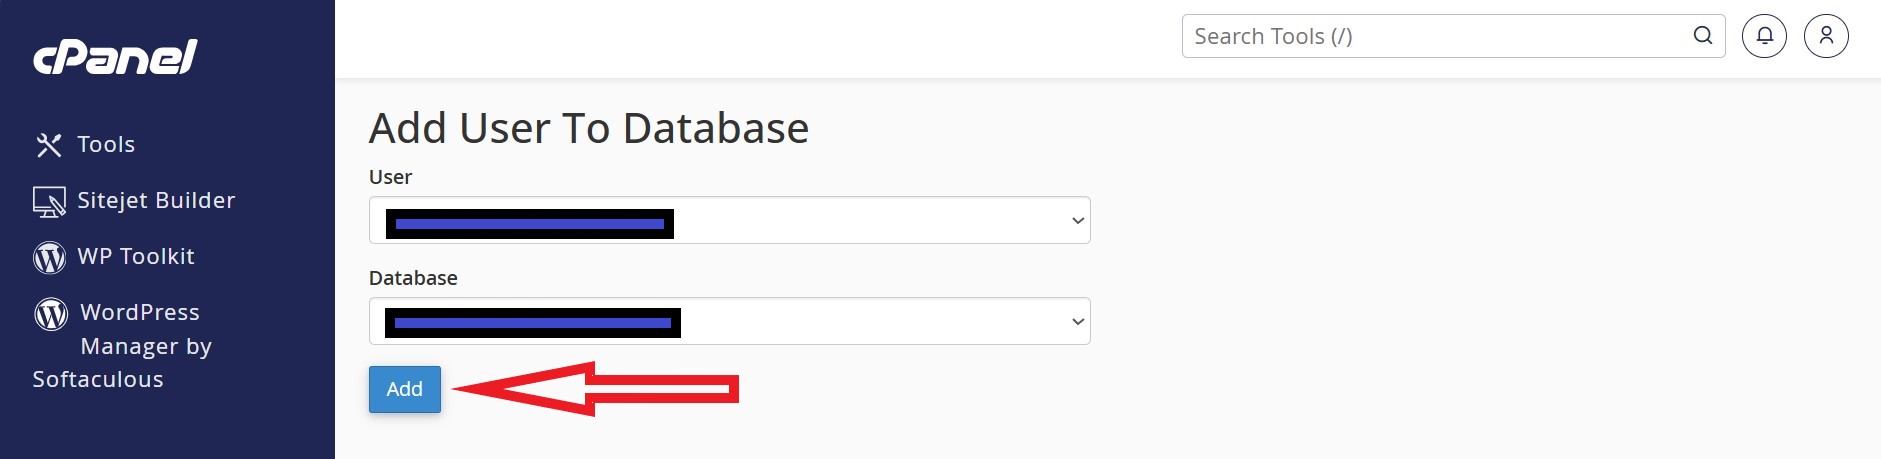
- Select the new user and database from the dropdown menus and click Add.
- Check ALL PRIVILEGES to give the user full access, or select specific privileges depending on the user's role.
- Click Make Changes.

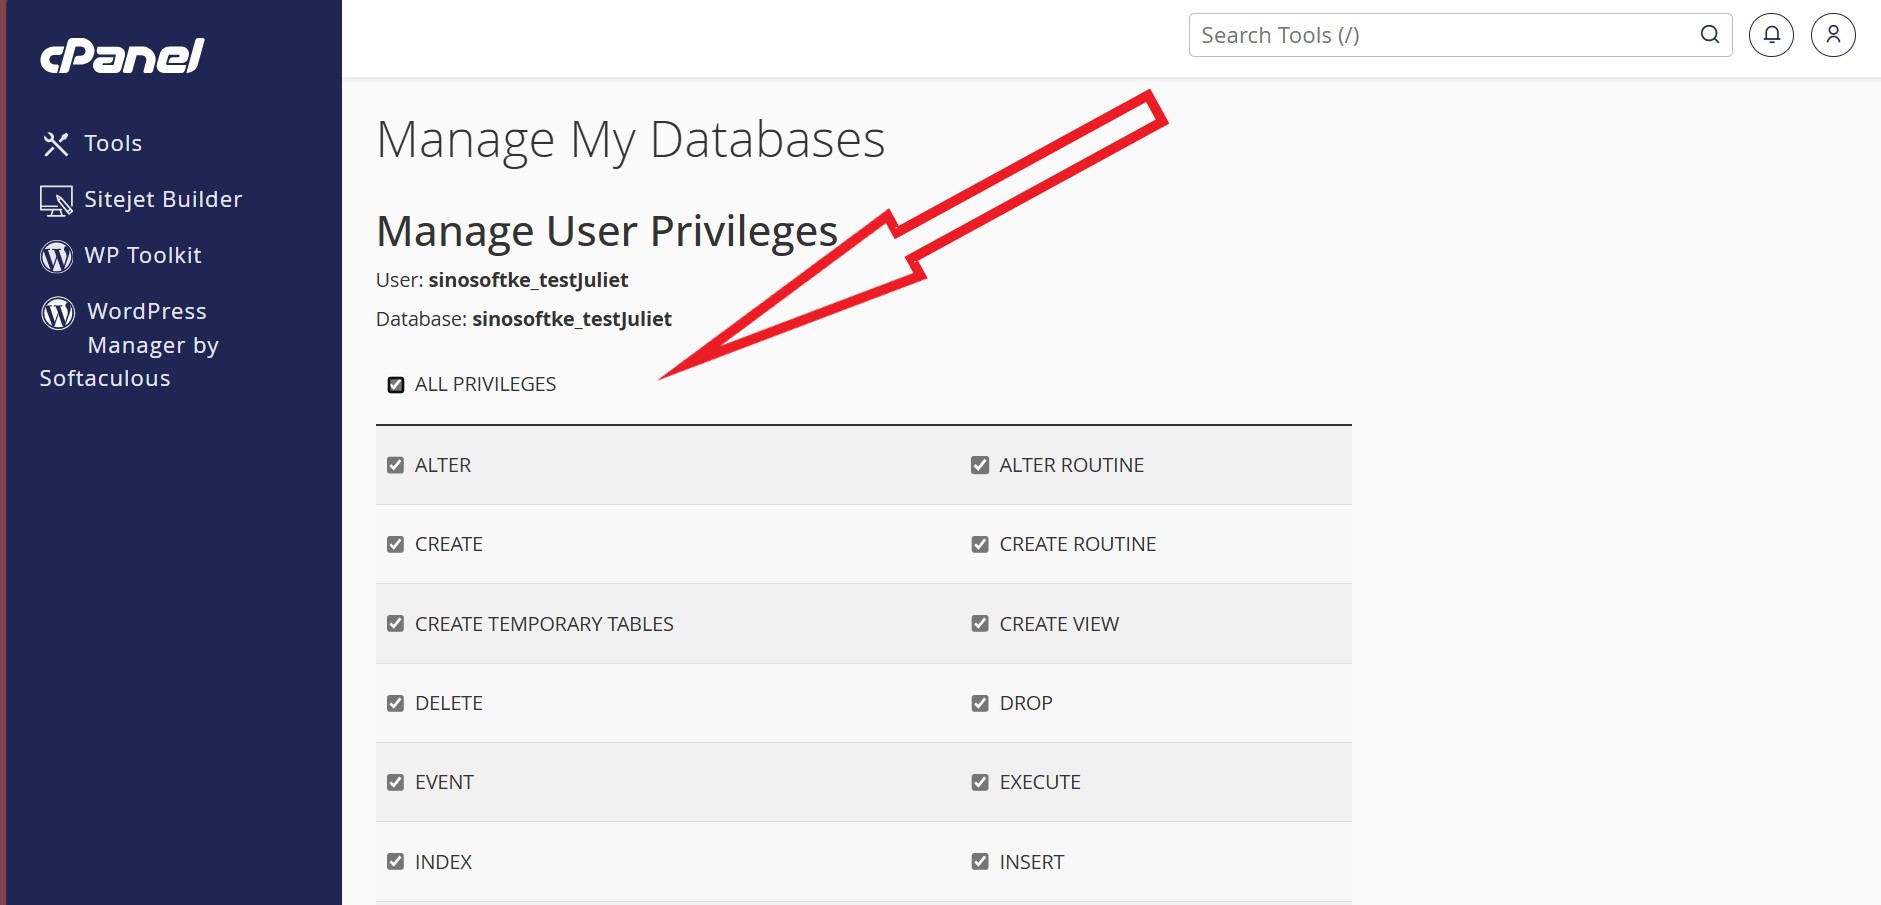
4. Manage User Privileges
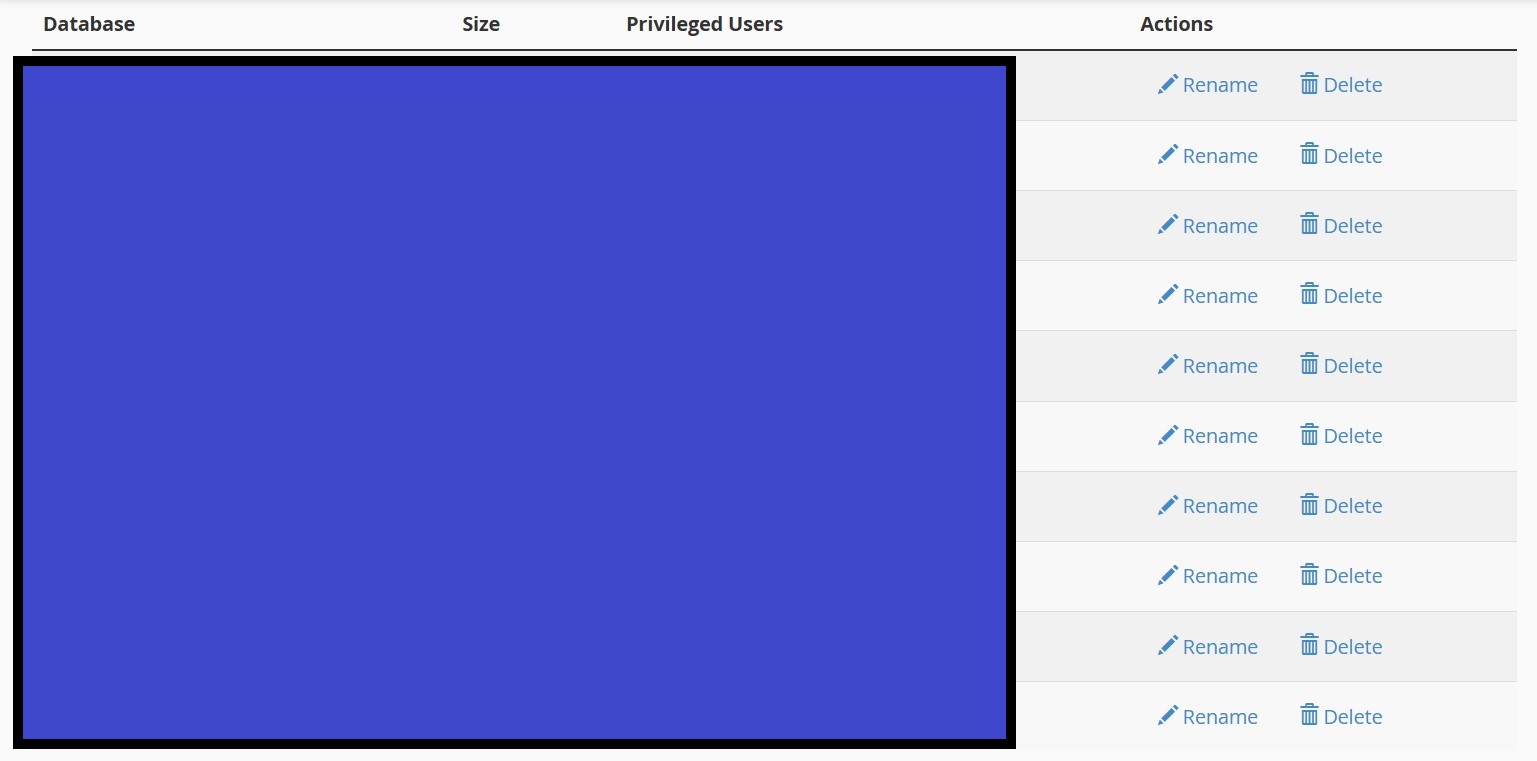
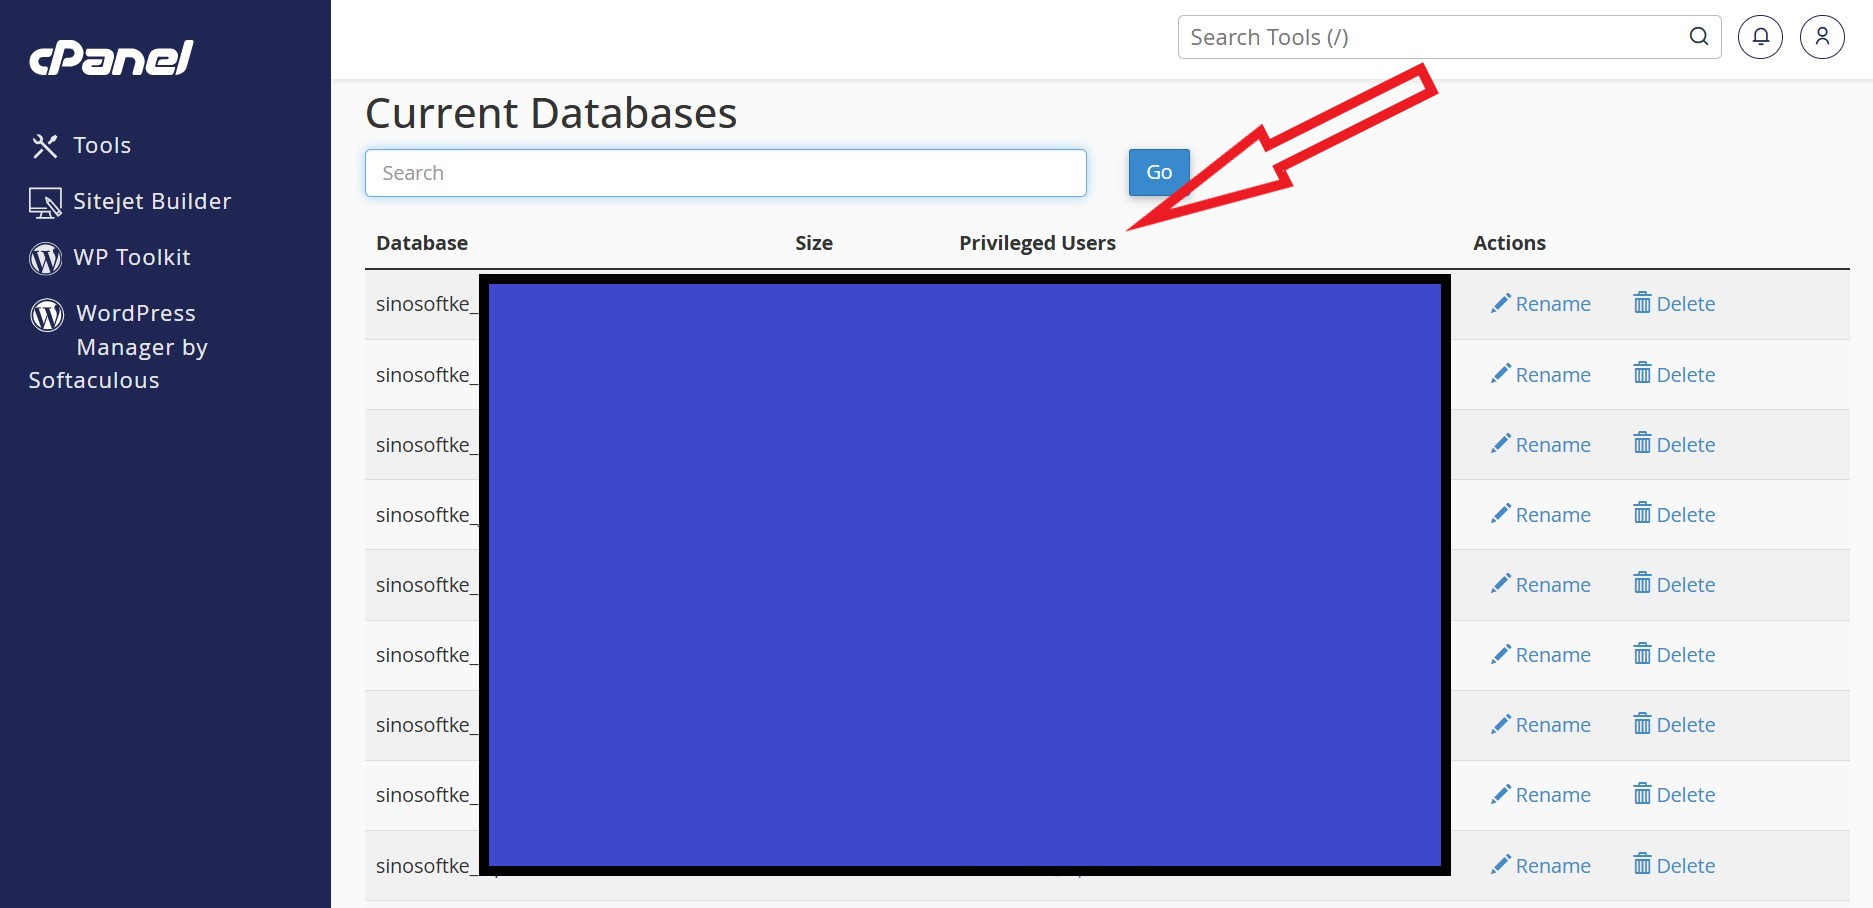
- In the Current Databases section of the MySQL Databases page, locate the database you want to modify.
- Under the Privileged Users column, click the username you wish to edit.
- Adjust privileges by checking ALL PRIVILEGES or selecting specific options as needed.
- Click Make Changes.
Also learn How to Clear Cache from cPanel.
Summary Checklist
Before proceeding, ensure you’ve completed the following:
- Created a new database
- Created a new user with a strong password
- Linked the user to the database
- Assigned the necessary privileges
Common Issues and Troubleshooting

1. Can't Connect to the Database
- Check if the database user has been assigned to the correct database.
- Verify the hostname used in your application configuration (usually localhost).
2. Error: “Access Denied for User”
- Ensure the username and password are entered correctly.
- Confirm that the user has the necessary privileges for the database.
3. Exceeded Database Limits
- Some hosting plans have limits on the number of databases or users. Check your plan details in cPanel.
Conclusion
In this guide, we have covered the essential steps to create and manage databases and users in cPanel. Here’s a quick recap:
- Create a Database: Set up a new database to store your website or application’s data.
- Create a User: Create a unique database user with secure credentials.
- Link the User to the Database: Assign the user to the database and grant the necessary privileges.
- Manage Privileges: Adjust user permissions to control what they can do within the database.
Proper database management is vital for the performance, security, and functionality of your website or app. By following these steps, you ensure that your data is well organized and accessible only to authorized users.
You should now be able to create and manage your databases and user database efficiently in cPanel. If you run into any issues, refer to the troubleshooting section or contact us or your hosting provider for assistance.
How do you go live with your website from cPanel? Learn here.


