Categories
Tag Cloud
How to increase email space in cpanel
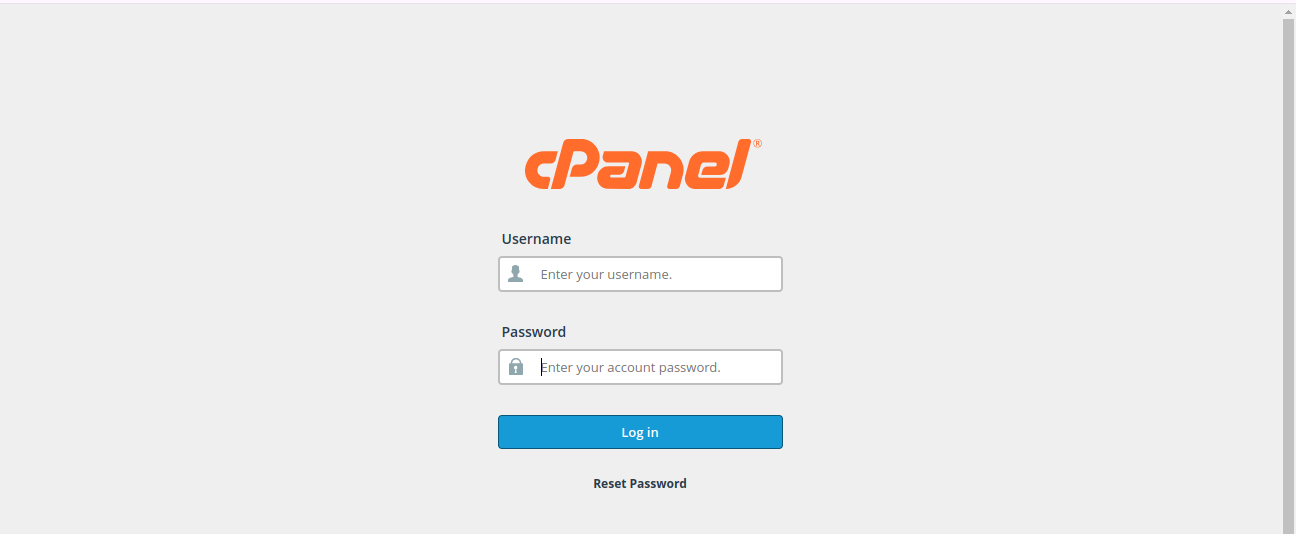
1. Log in to cPanel
Start by accessing your cPanel dashboard. This is typically done by visiting yourdomain.com/cpanel and entering your credentials (Username and Password).
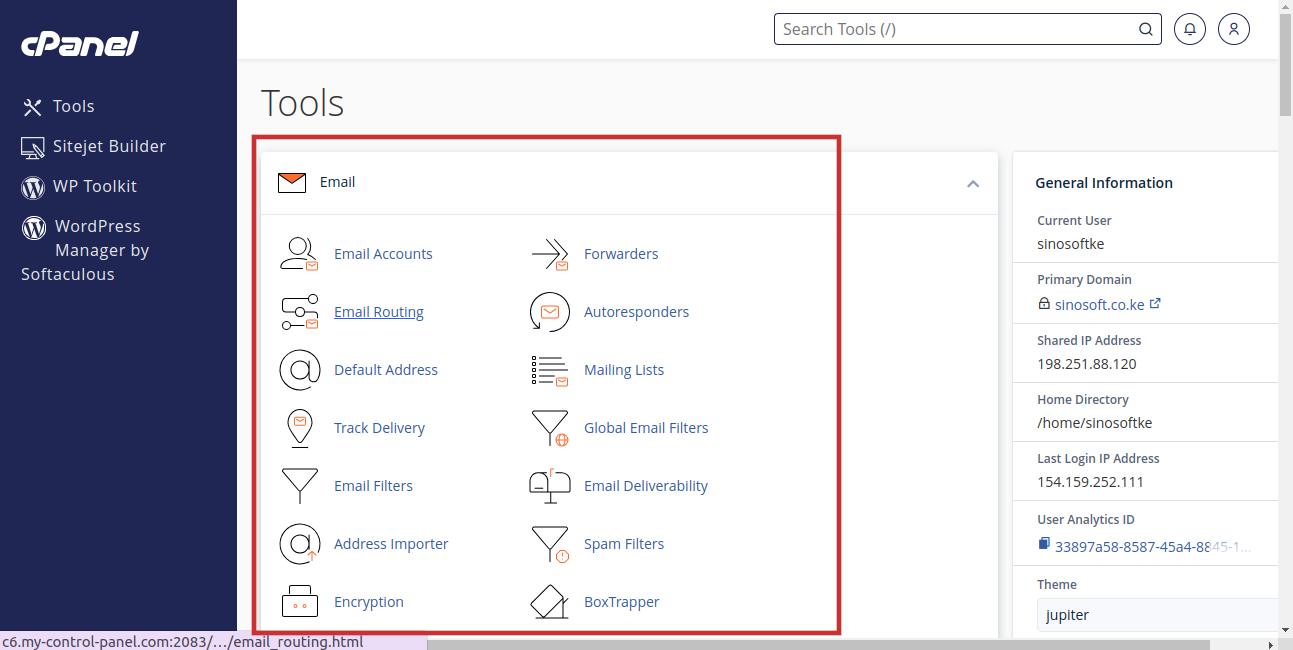
2. Navigate to the Email section
Look for the section labeled Email and select Email Accounts.
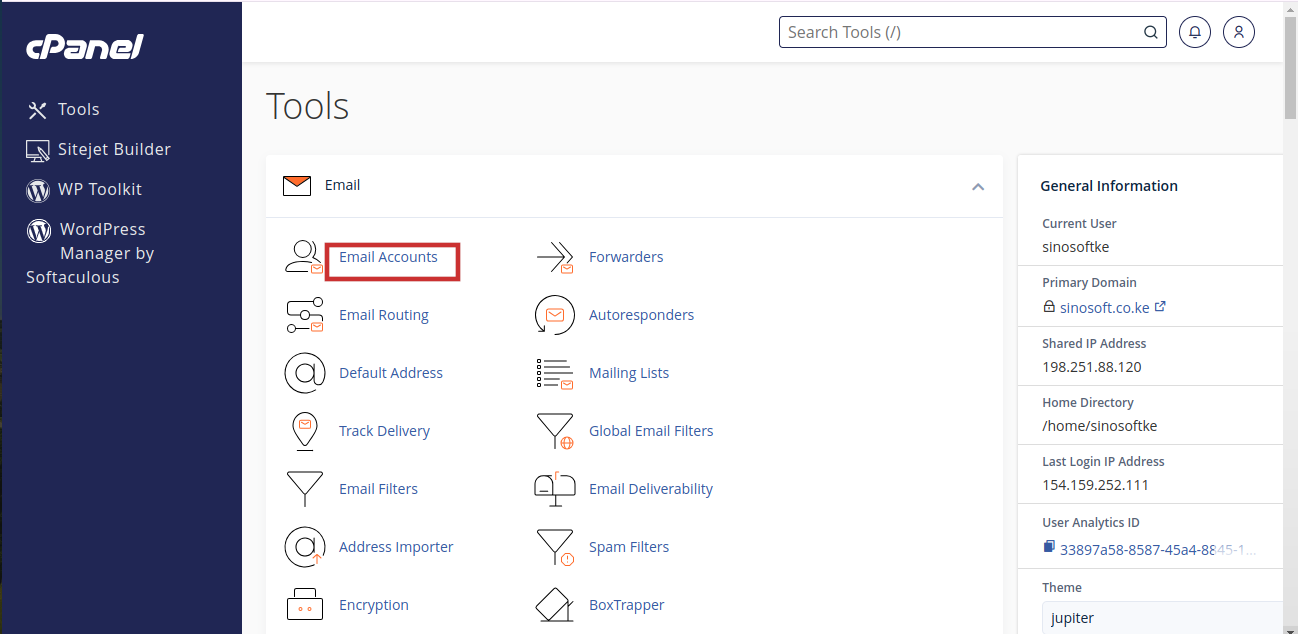
3. Select Email Accounts
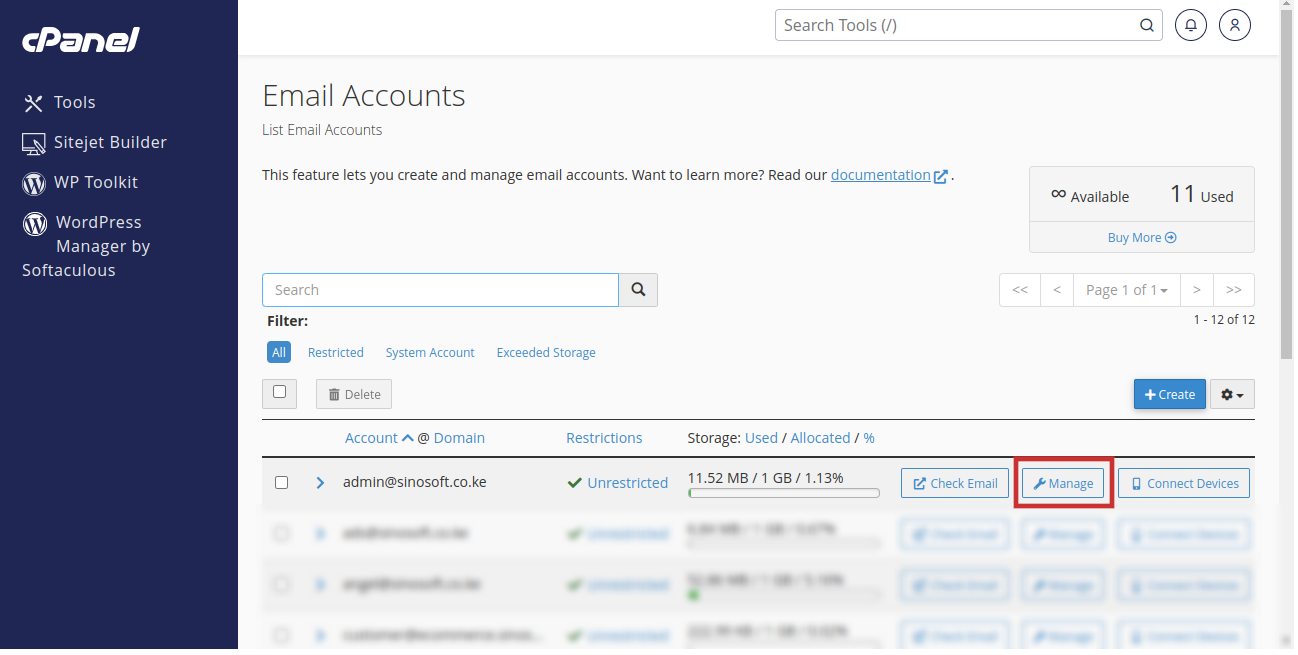
4. Find the email account you want to update
Find the account you want to adjust in the list of existing email accounts. Next to the email account, click on the Manage button.
5. Scroll down to Allocated Storage Space
Scroll down to the Allocated Storage Space section
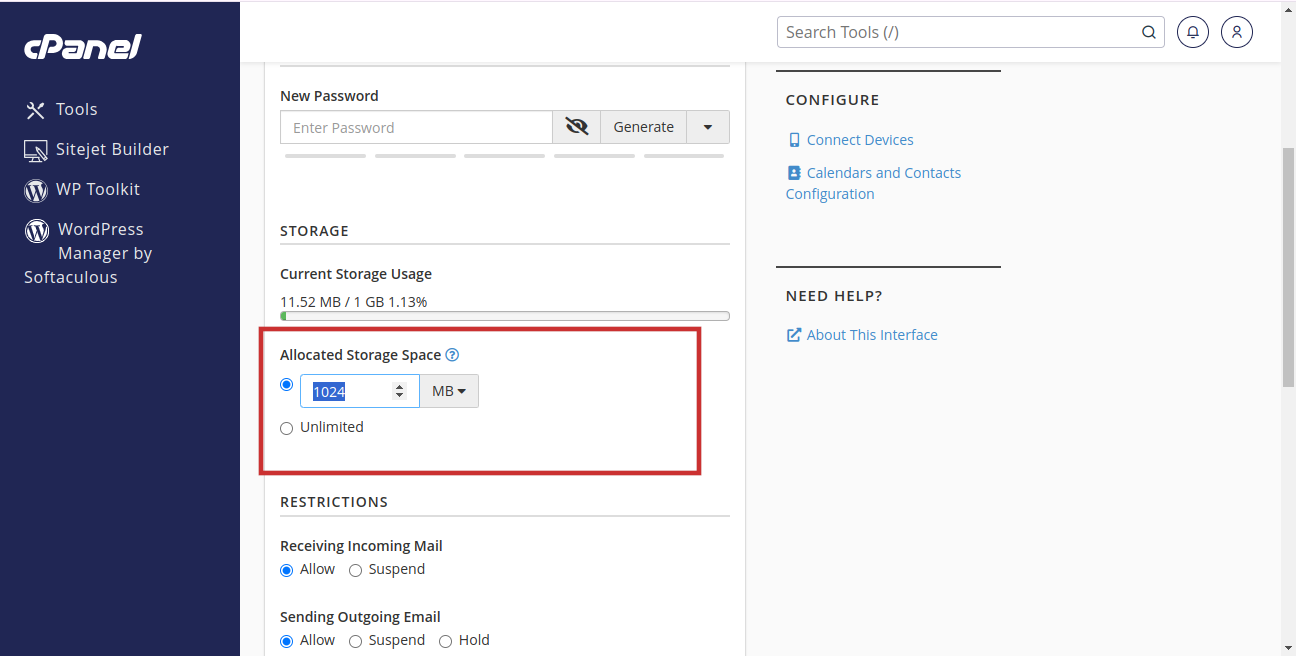
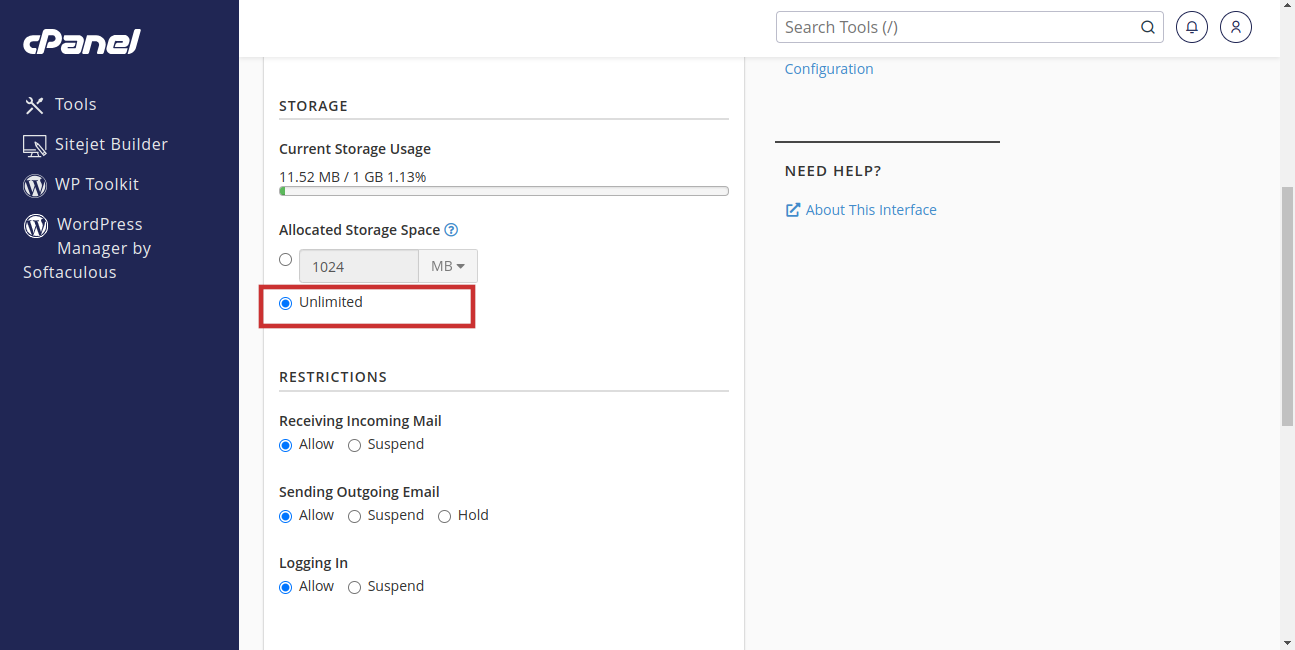
6. Enter the new quota or select Unlimited
Here, you can either enter a new quota (in MB or GB) or select the Unlimited option if you want to remove any limits.
7. Click Update Email Settings
Once you’ve set the desired quota, save your changes to apply the new storage limit.

Notes:
The amount of storage you give each user is deducted from the total storage for their package and the hosting plan. You should be careful when giving out extra storage space.
The storage space for webmail accounts depends on the hosting plan. Webmail accounts use the same storage space as website files. The amount of space available depends on the number of email addresses and the content.
Read Also : Access File Manager and Other Cpanel Functions from Client Area
1. Log in to cPanel
Start by accessing your cPanel dashboard. This is typically done by visiting yourdomain.com/cpanel and entering your credentials (Username and Password).
2. Navigate to the Email section
Look for the section labeled Email and select Email Accounts.
3. Select Email Accounts
4. Find the email account you want to update
Find the account you want to adjust in the list of existing email accounts. Next to the email account, click on the Manage button.
5. Scroll down to Allocated Storage Space
Scroll down to the Allocated Storage Space section
6. Enter the new quota or select Unlimited
Here, you can either enter a new quota (in MB or GB) or select the Unlimited option if you want to remove any limits.
7. Click Update Email Settings
Once you’ve set the desired quota, save your changes to apply the new storage limit.
Notes:
The amount of storage you give each user is deducted from the total storage for their package and the hosting plan. You should be careful when giving out extra storage space.
The storage space for webmail accounts depends on the hosting plan. Webmail accounts use the same storage space as website files. The amount of space available depends on the number of email addresses and the content.
Read Also : Access File Manager and Other Cpanel Functions from Client Area


