Categories
Tag Cloud
Create lists using OX App Suite
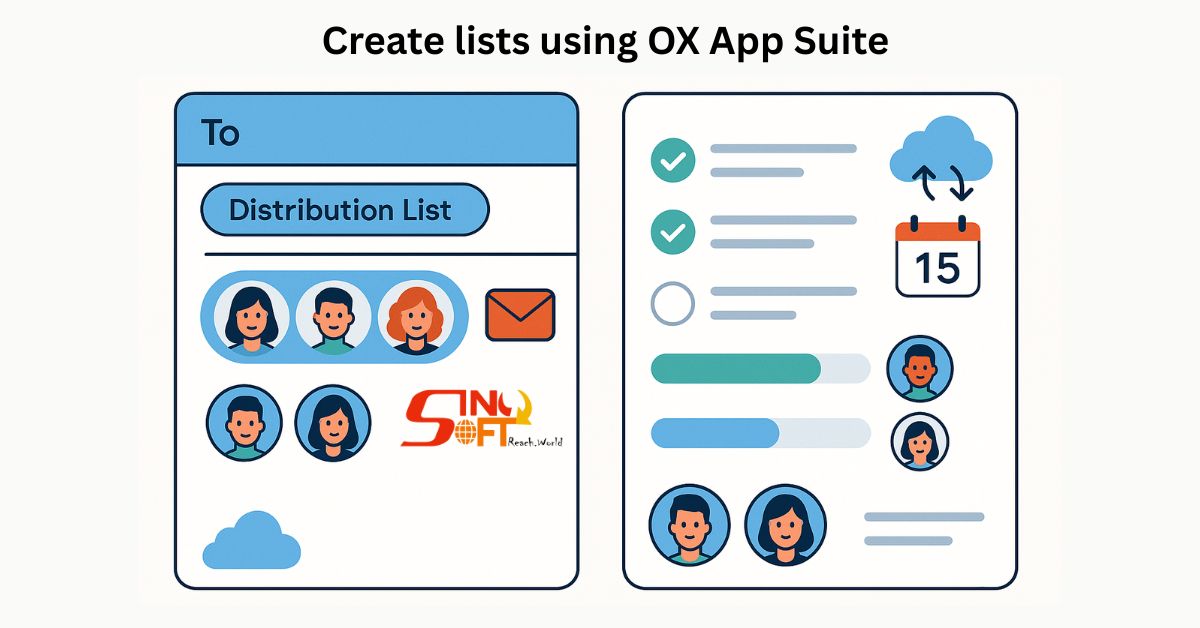
OX App Suite allows users to create several types of lists, including distribution lists for emails and task lists for project management.
Distribution lists are created from contacts within the email application and can be saved for later use.
Task lists can be created, assigned, and monitored within the OX Tasks app, synchronizing across devices according to Open-Xchange.
Distribution Lists (for Emails):
1. Select Contacts: Open an email containing the contacts you want to include in your list.
2. Save as Distribution List: Click the "More actions" icon (usually three dots or lines) and choose "Save as distribution list".
3. Name and Create: Give the list a name, add more contacts if needed, and click "Create list".
4. Access: Find your saved distribution lists in your Contacts folder.
Task Lists (for Project Management):
1. Open OX Tasks: Access the OX Tasks application within OX App Suite.
2. Create New Task: Click "New" or a similar button to start creating a new task list.
3. Add Tasks: Add individual tasks with descriptions, due dates, and assignees according to Hostway.
4. Share and Monitor: Share lists with others, assign tasks, and monitor progress.
5. Synchronize: OX Tasks synchronizes with native device calendars and reminders, allowing for cross-platform task management.


