How to Create a Website for FREE using Sitejet Builder AI
Have you ever wanted to get your business online but could not because of limited funds?
That is no longer a problem. With the Sitejet AI Website Builder, you can create a professional website in just ten minutes. The best part is that it is completely free to build. All you need is ten minutes of your time, a domain name, and a web hosting plan.
Now, before we even get into the process, here is something fascinating—over 252,000 websites are created every single day.
That number is expected to grow even more because we are living in the golden age of digital transformation, where anything you want can be found with just a search. Missing out on this age for a business is like missing the chance to invest in cryptocurrency in 2009.
If your goal is to reach more clients, then you need a website. Why? Because a website opens up access to an unlimited audience actively searching for the products or services you offer.
It becomes your digital storefront, always available, always working, even while you sleep.
So, how do you actually create a website in just ten minutes using the Site Jet AI Builder?
Let’s go step by step.
Table of Contents
Step by Step Guide on How to Create a Website for Free using Site Jet Builder.
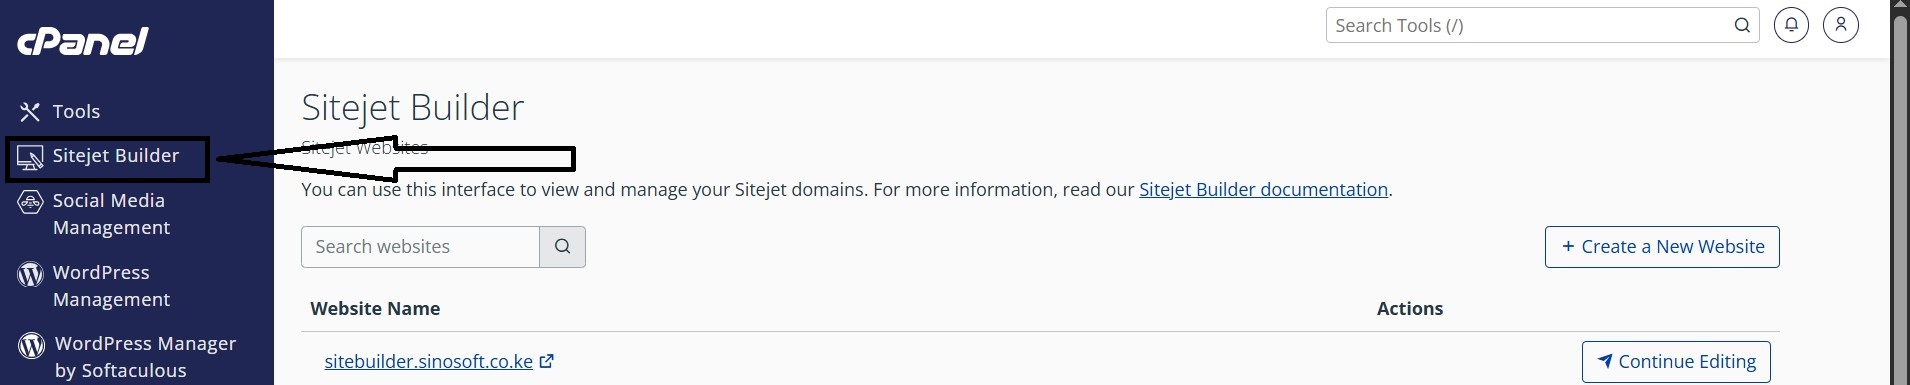
Step one: Login to your cPanel and on the dashboard you will see "Site Jet Builder"
Step two: Choose the domain you want to use to create the new website if you don't have a domain, you can register a new domain name.
Step three: After choosing the domain or registering the new domain, now click submit and you will be redirected to a new interface where you get to fill your business details.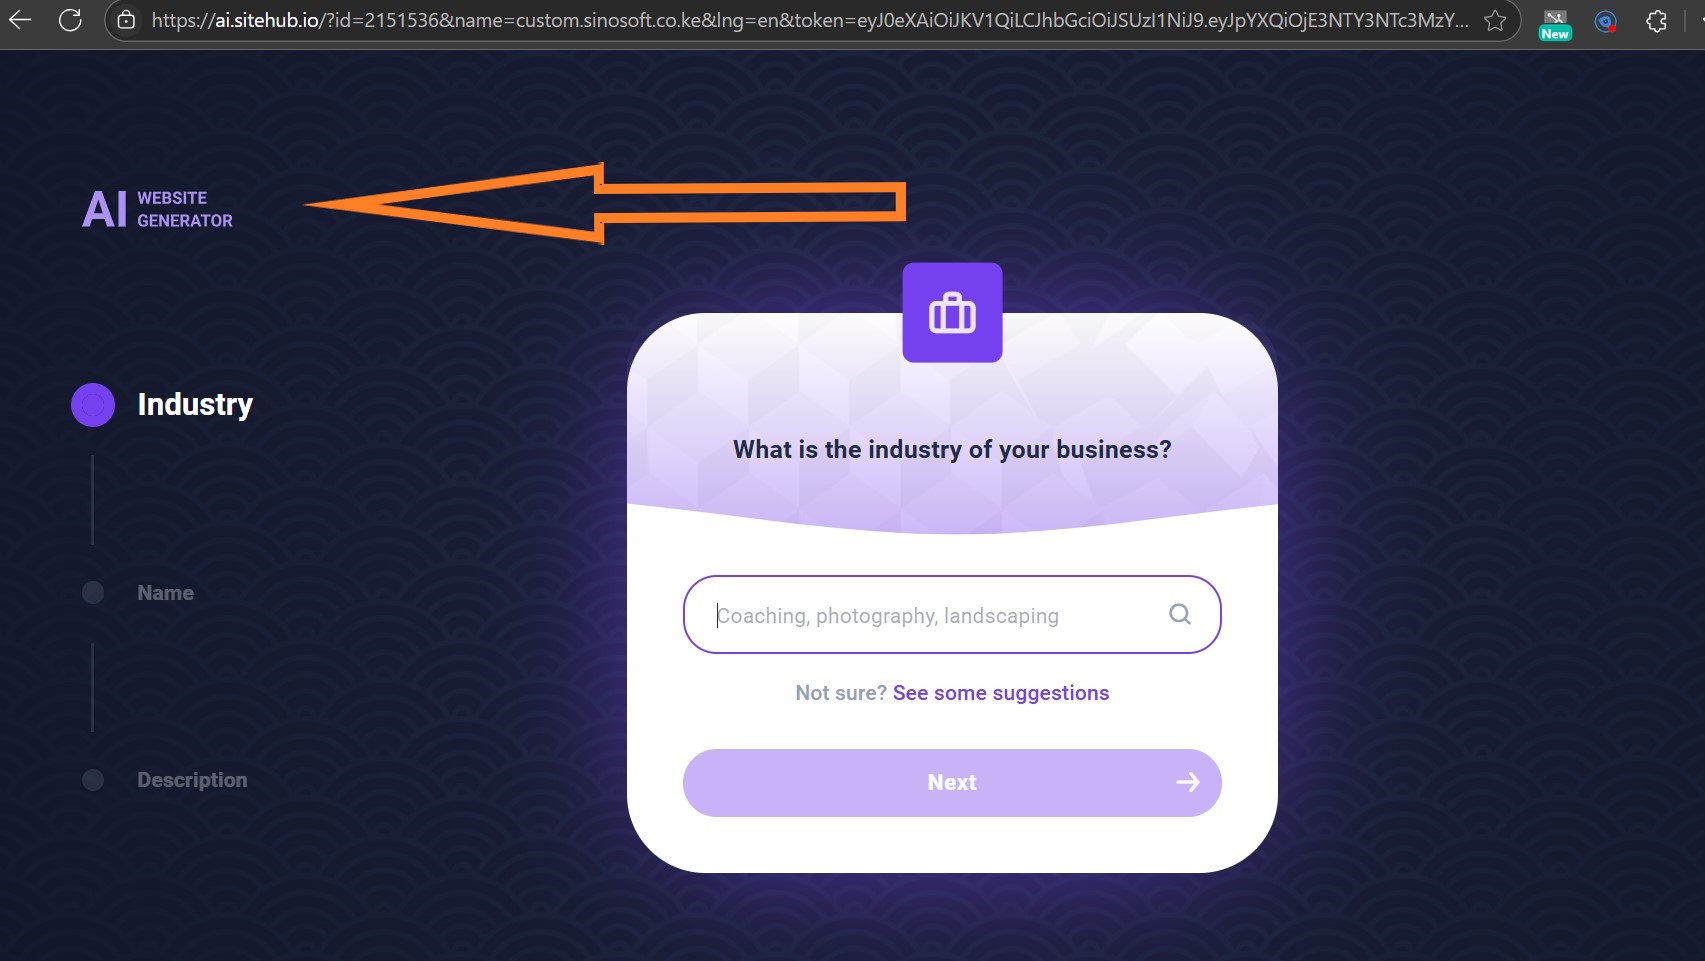
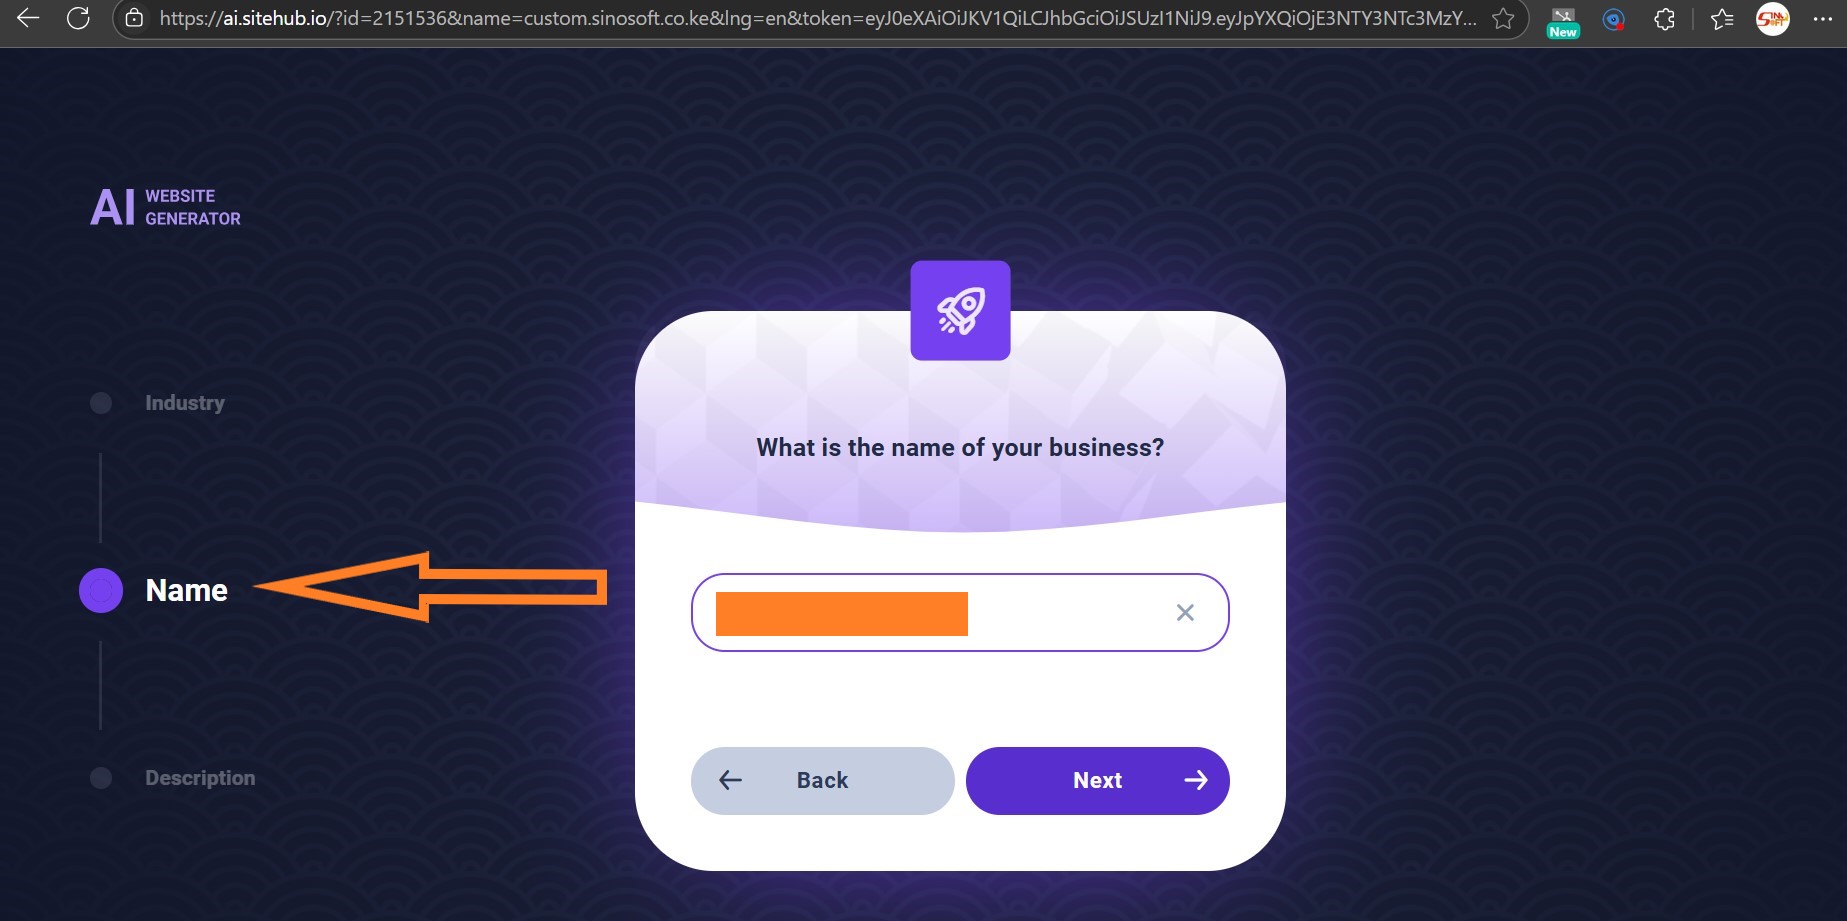
Step four: Choose the name of your website using that domain name that you had created
Step five: Write a short detailed and specific description of your website to give AI an idea of what you really want. The more detailed the better.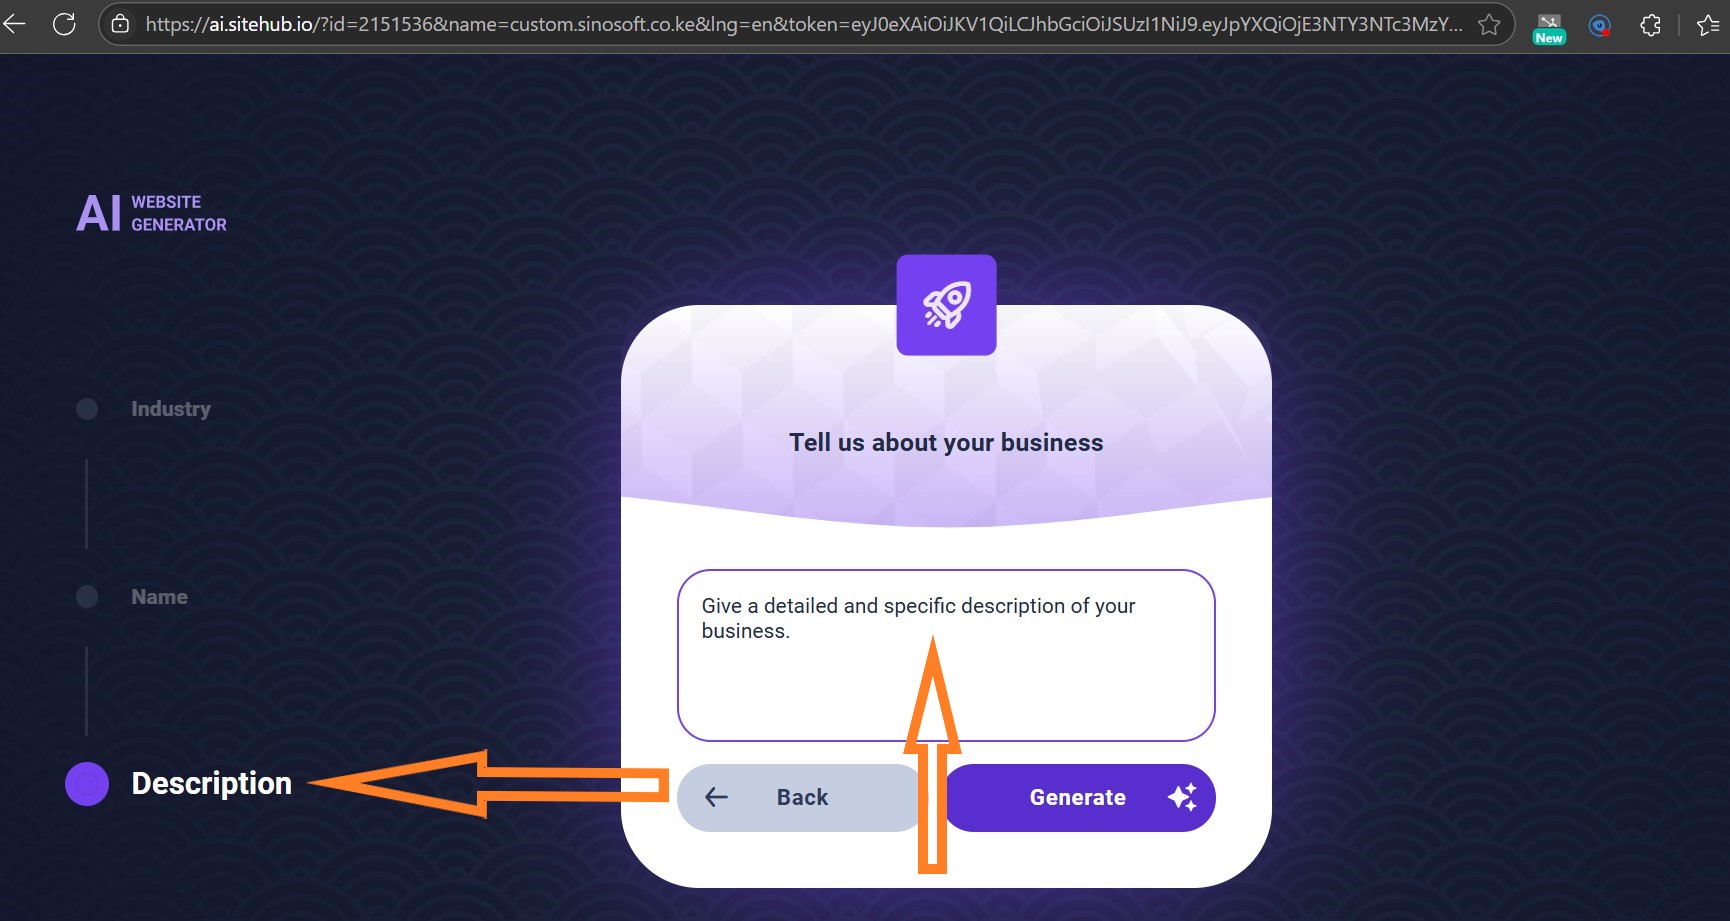
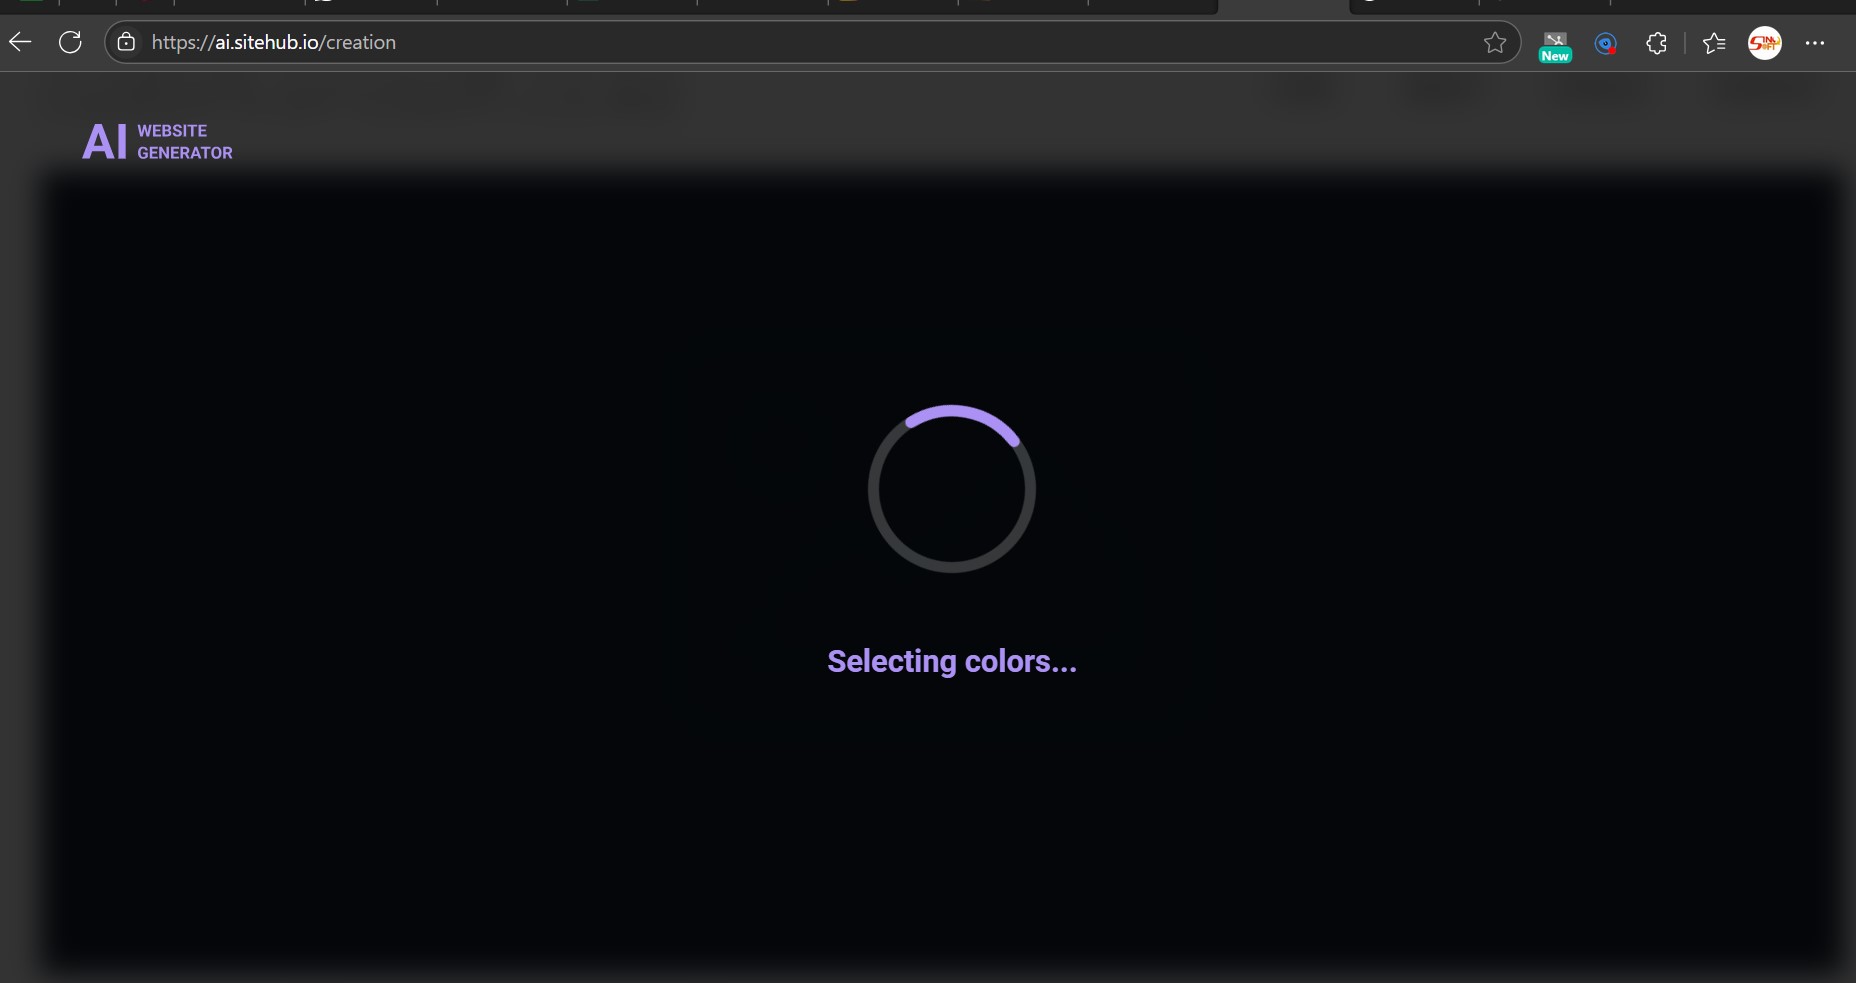
Step six: Ater describing your website in detail, click generate and wait for Ai to do it's magic. This is how the interface will be looking as it generates your site.
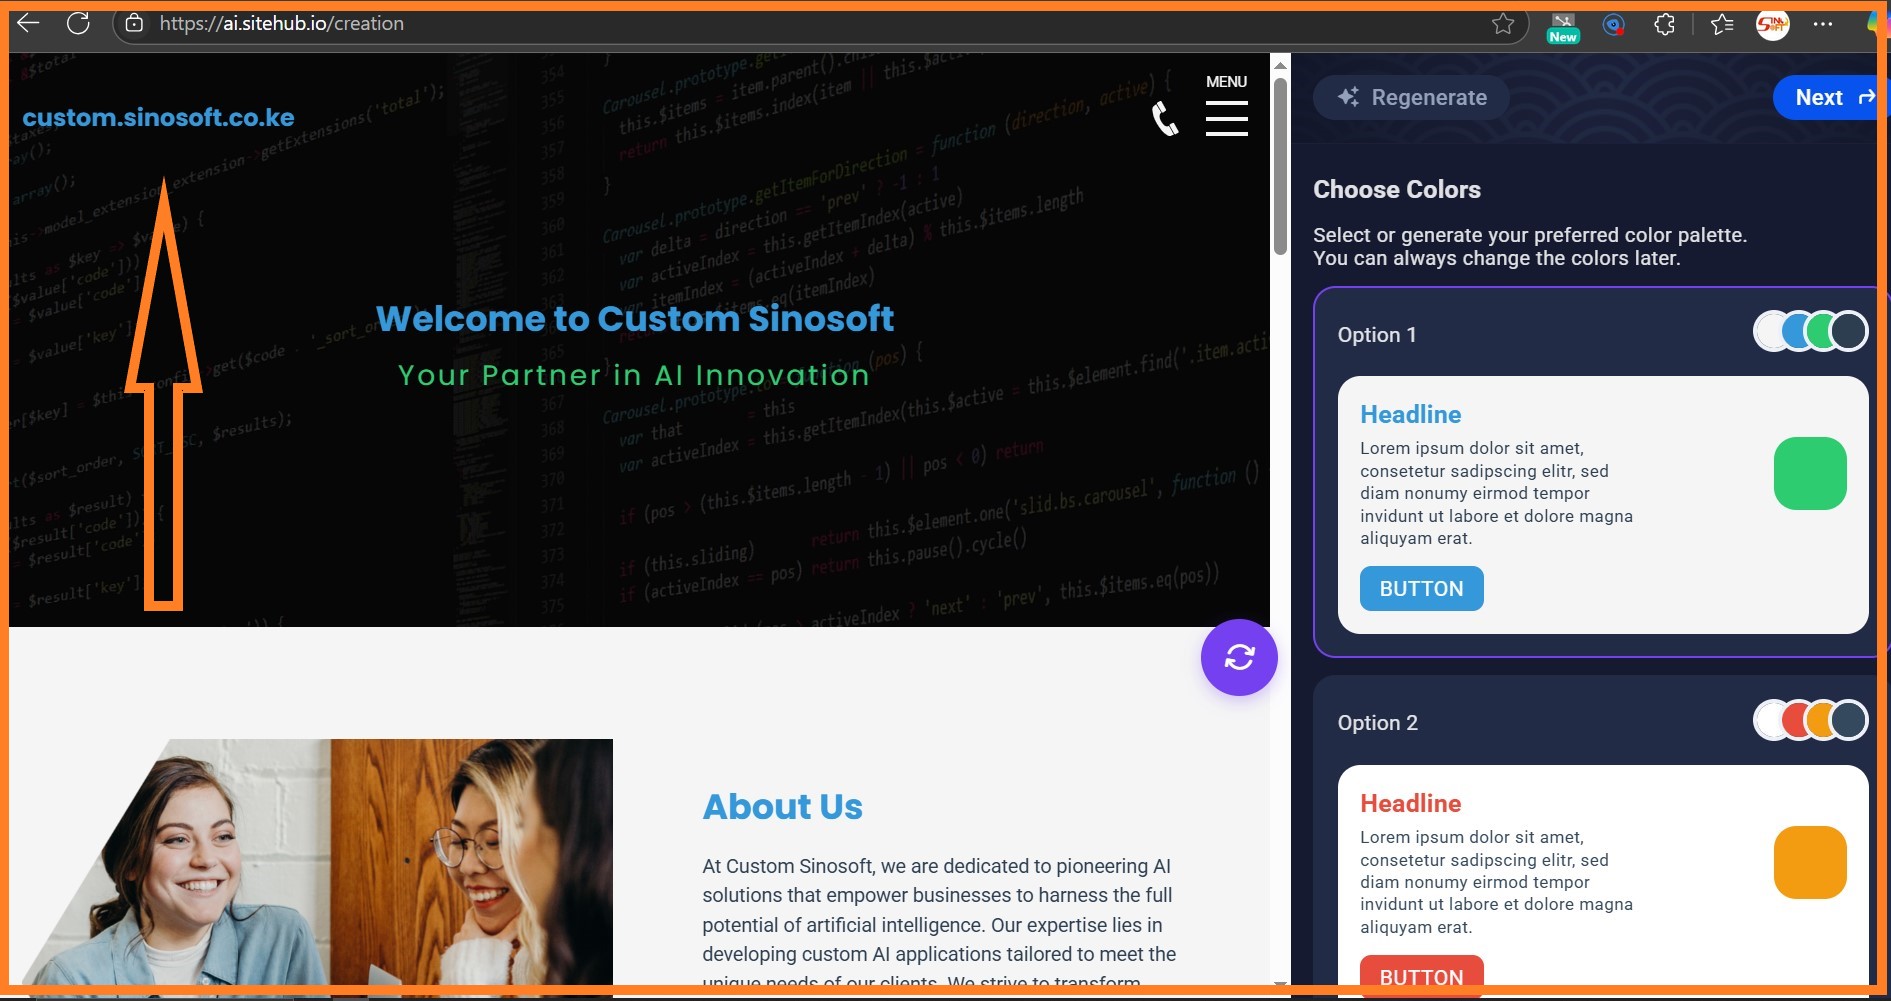
Step seven: After loading, voila you now have a full and new website in just a matter of minutes.
Step eight: After that, on the side panel, there is a menu where you can choose the layout, colors fonts and much more. Check out this video of the side panel.
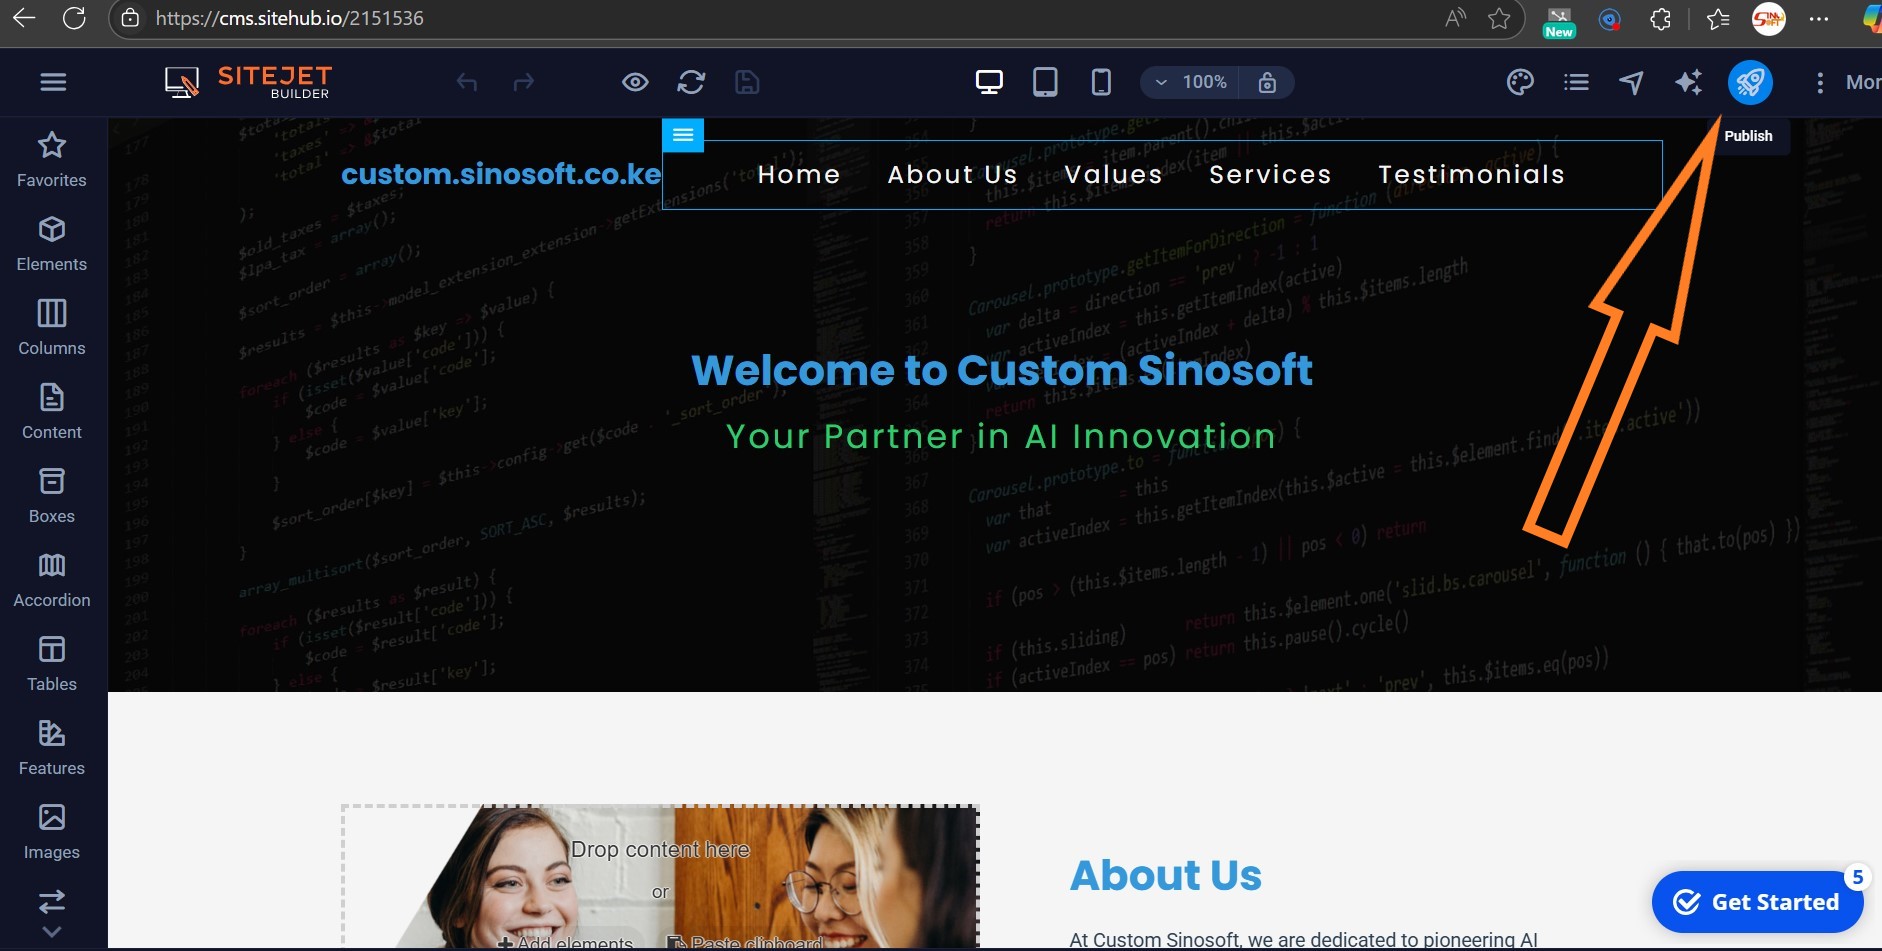
Step nine: After choosing the features according to your liking, you can now publish your site!
In case you ever want to edit the website, you can always comeback and use the below features to change a few features or make any adjustments!
Features in the Site Jet AI Website Builder
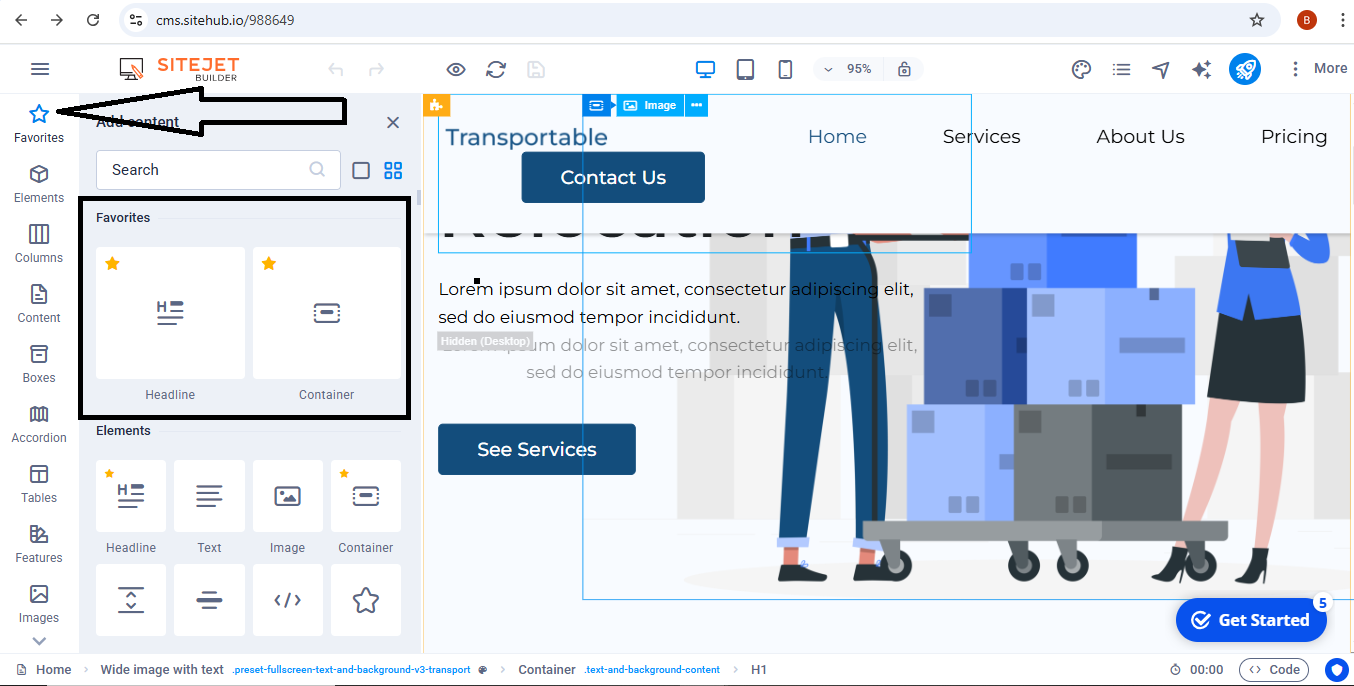
In this feature, you can star any elements in this whole panel that you would like to include in your website to make it easily accessible as you build up your website.
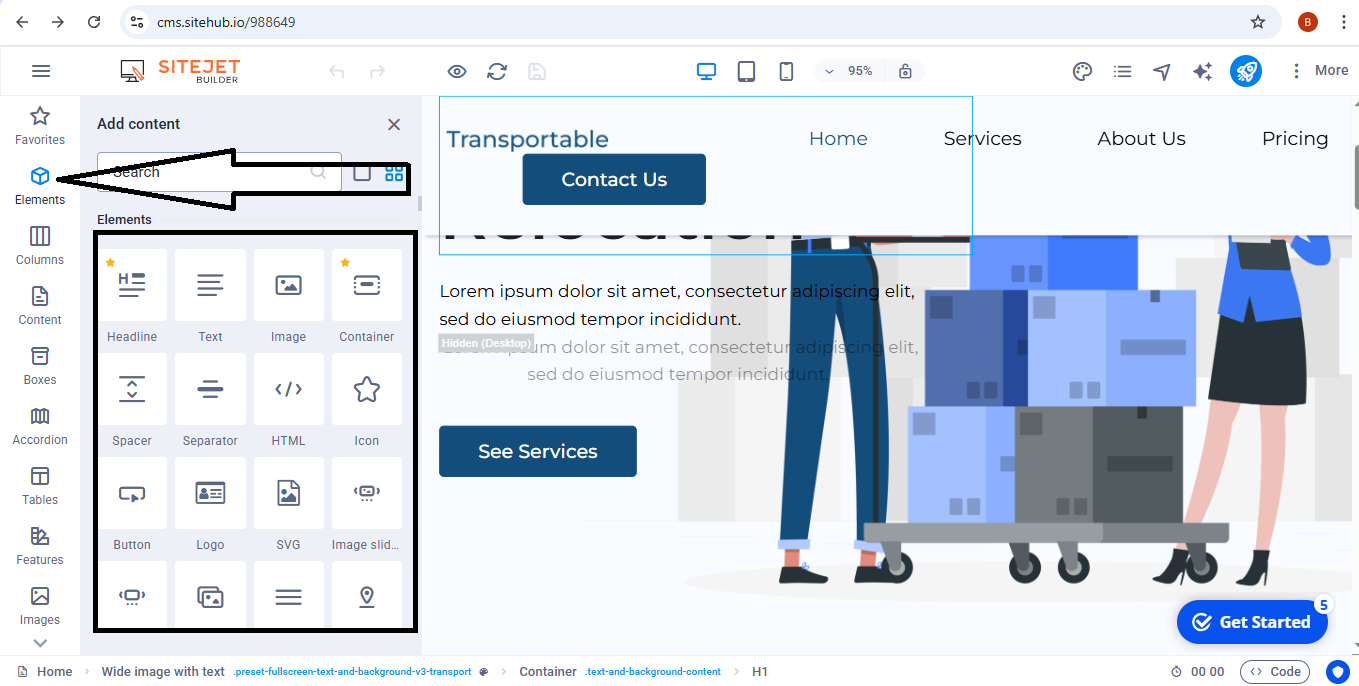
Use elements to choose the main ingredients of your website.
For example, here you have access to the Headline, Text, Image, Container, Spacer, Separator, HTML, Icon, Button, Logo, SVG, Image slider, Slider, Gallery, Menu, Map, Facebook, YouTube, Vimeo, Document, Audio, Iframe, Privacy, and Languages.
Remember every element you click on will be added to the main page of the website so you may need to confirm is what is on the main page is what you really need to be displayed.
If not, you can always delete as long as the website has not gone live.
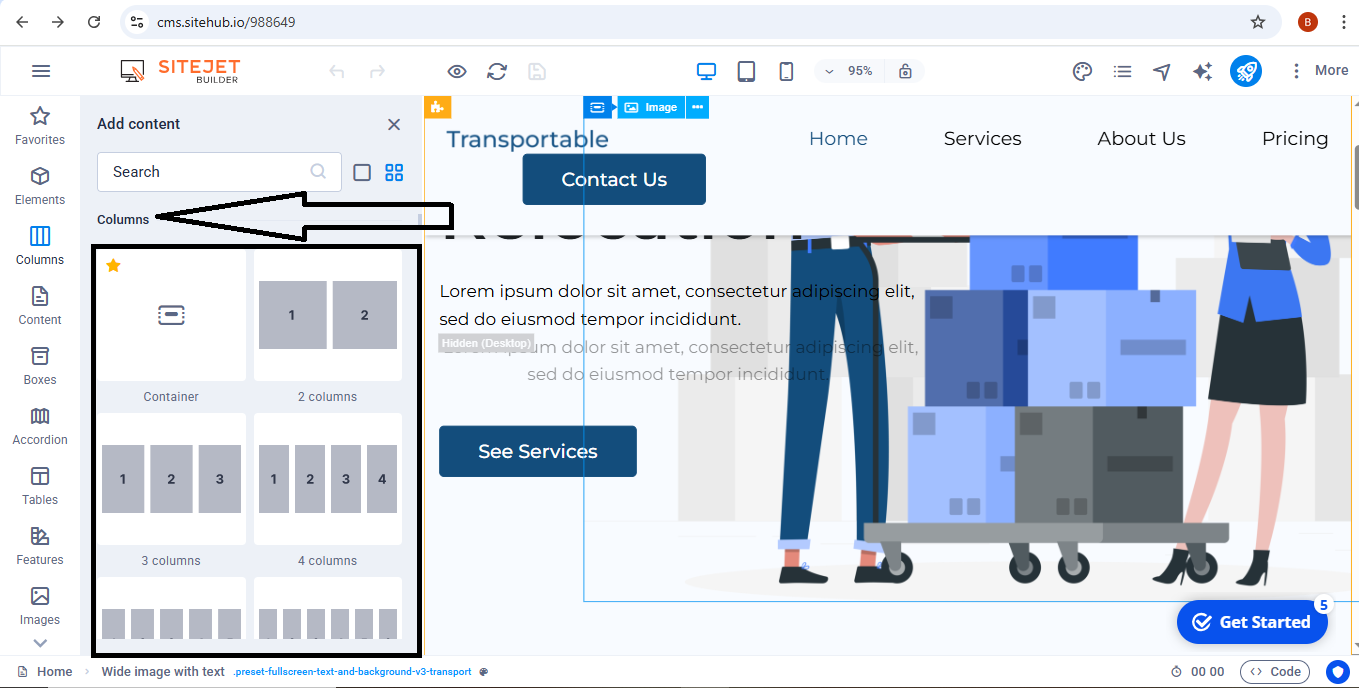
With Columns, you have options to choose the number that you'd want. The number that you see fit for your website.
There is also an option to include grids and the maximum number of columns you can include goes up to 80 with different styles configured to suite your different styles.
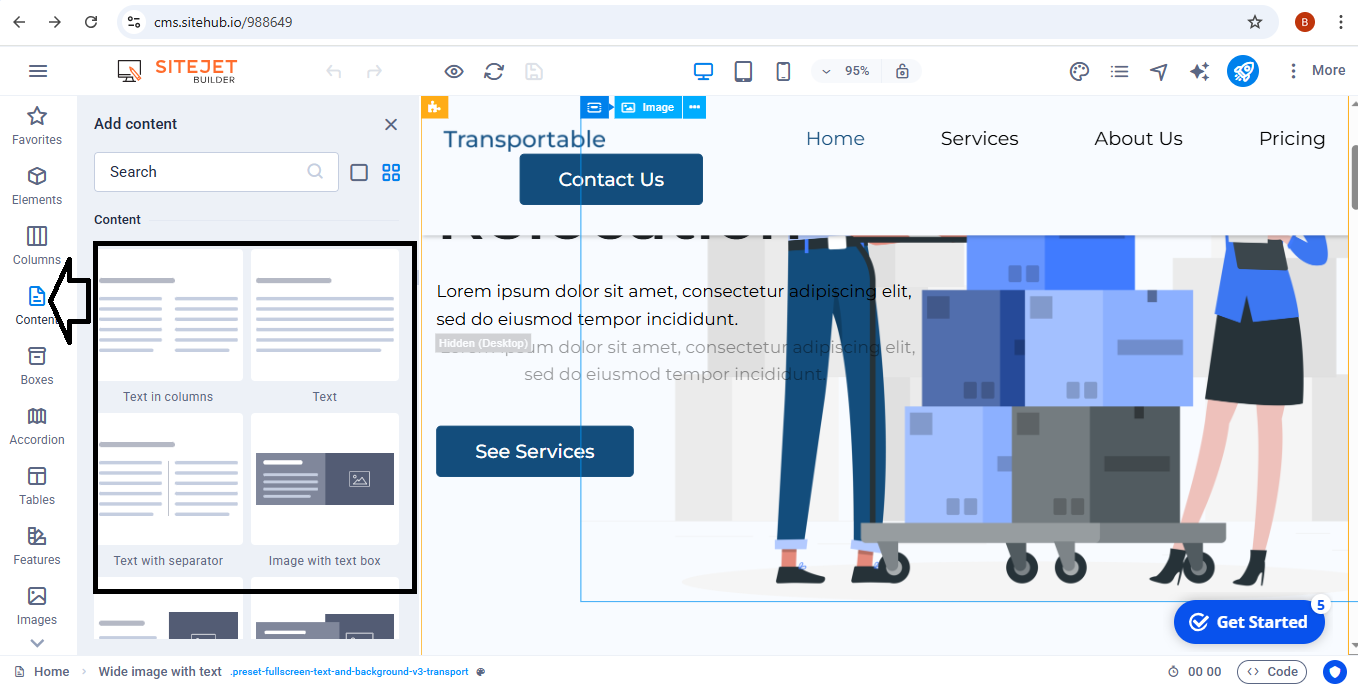
Choose the type of texts you want your website to have. Her, you can choose between text with separator, image with text box, text in columns, image with text box, text image overlap, text on background and so much.
There are literally so many options to choose from all you have to do is click what you would like to add to your new website.
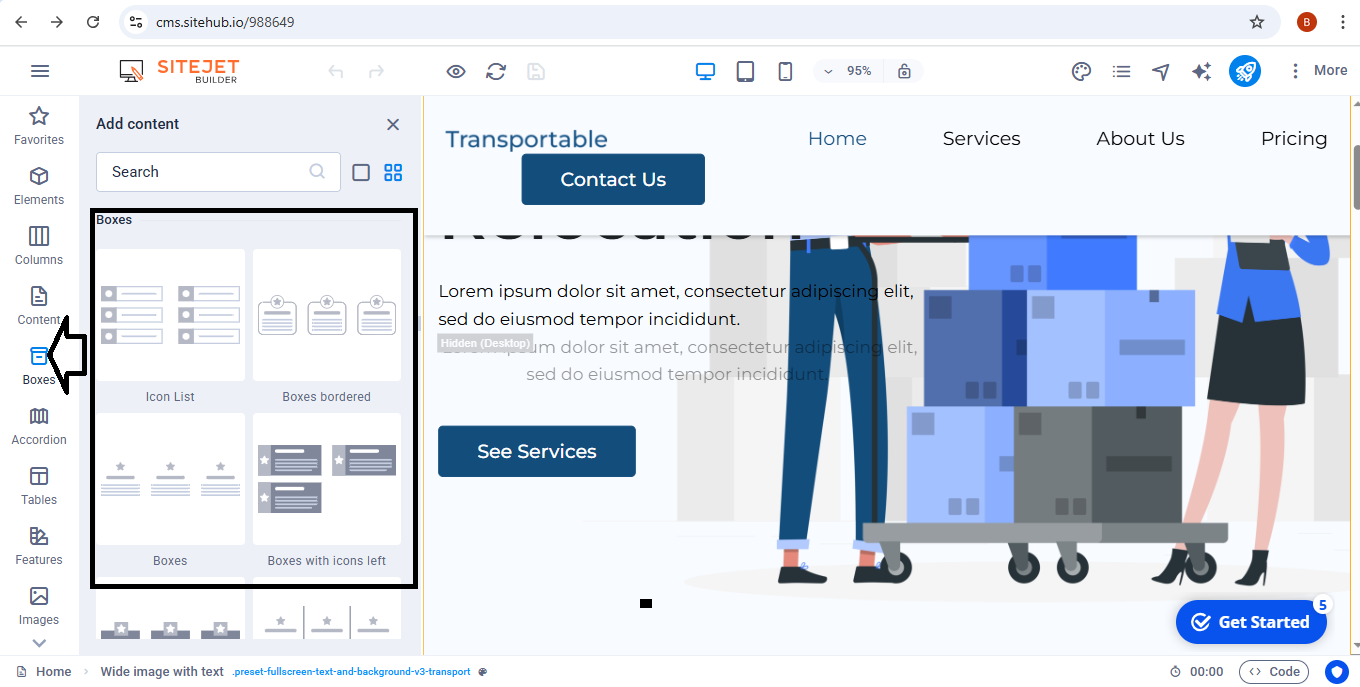
Boxes are specific or sections that are used to add things like ratings, announcements, google reviews and such.
It doesn't have to fit into the category of these three but whatever you see fit according to your website.
You can even make the boxes to be for offers or just something like that.
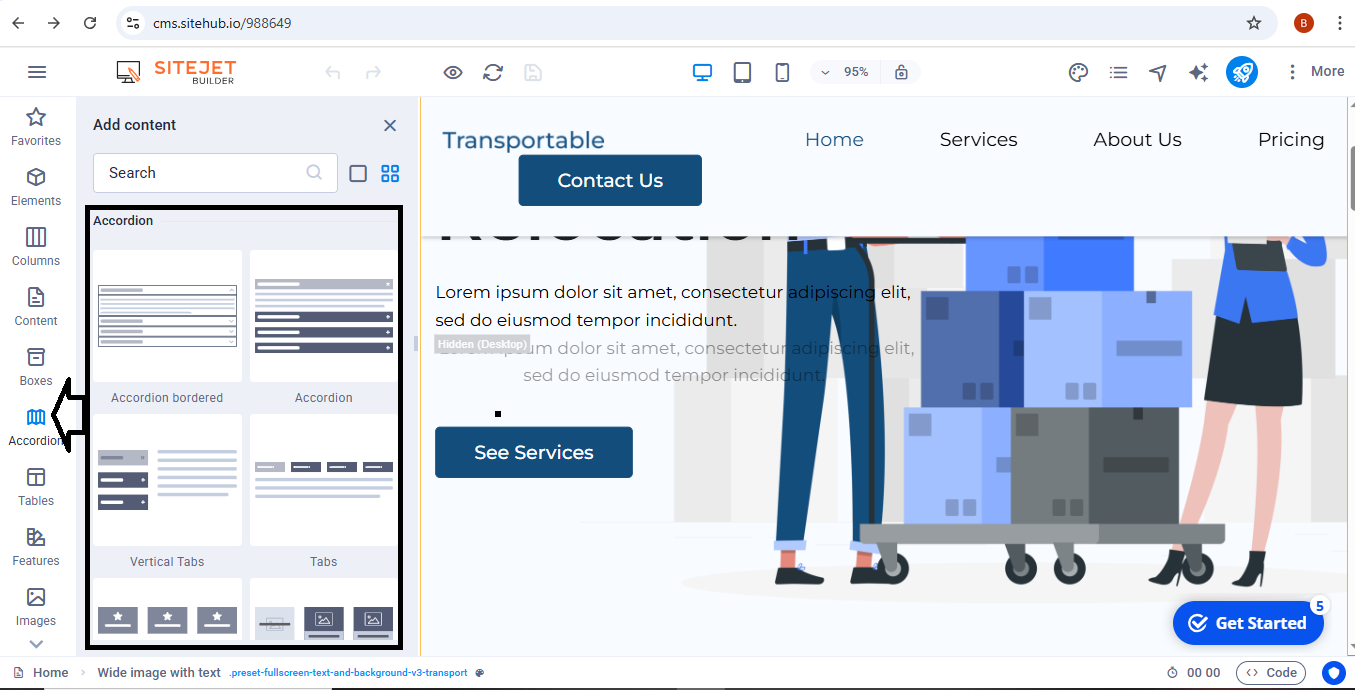
An accordion is a web design element that hides and reveals content when clicked. It organizes information into expandable sections, so users can open what they need and keep the rest collapsed. This makes pages cleaner, easier to navigate, and mobile-friendly.
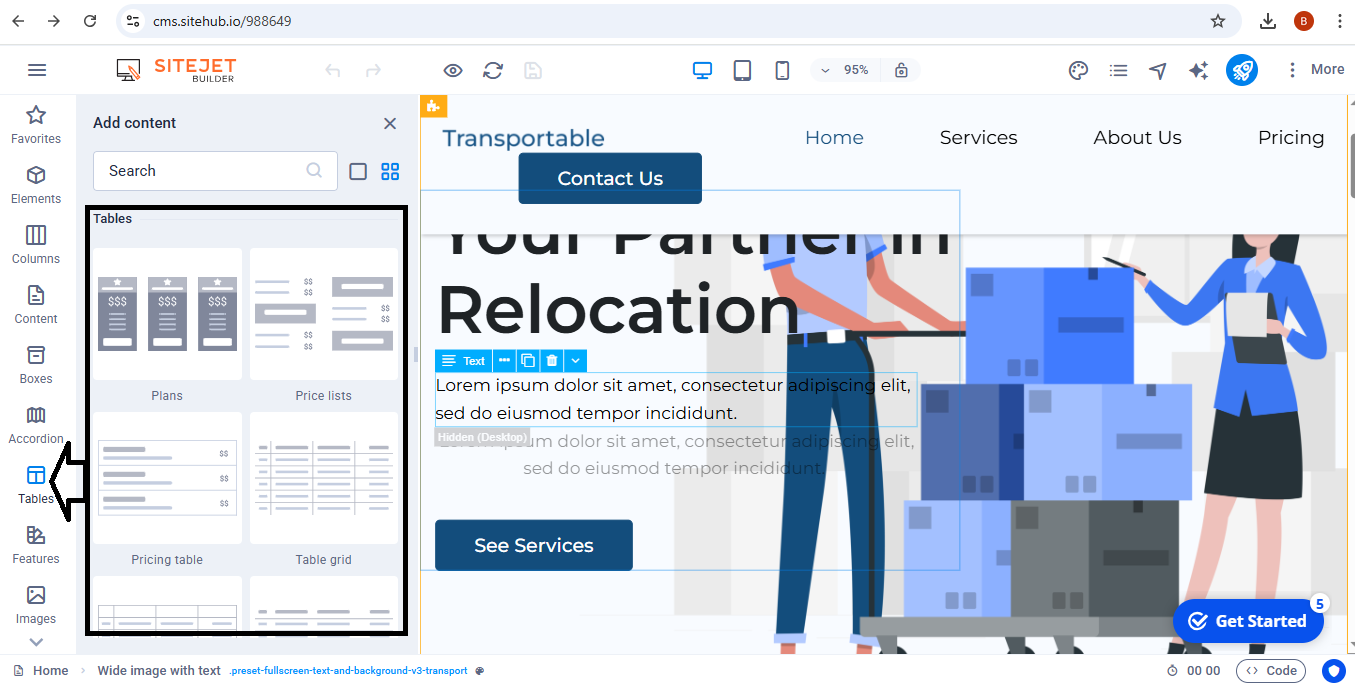
You can use the tables section to include Plans, Price lists, Pricing table, Table grids and also choose different forms of any table you would like to include to your website.
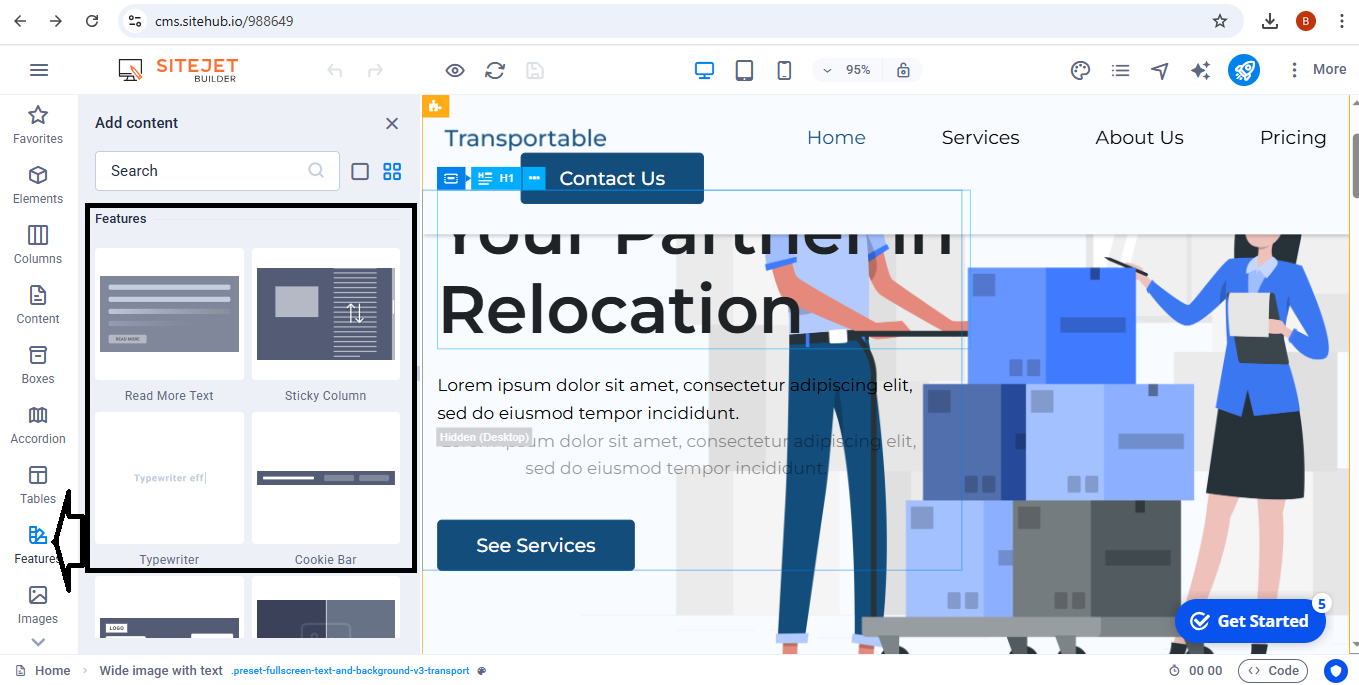
Here you have these options: Read More Text, Sticky Column, Typewriter, Cookie Bar, Consent Bar, Image Comparison, Progress bar, Timeline, Opening Hours as a column, Social Media Icons, Scroll Indicator, Back Button and such.
Everything you will need is included here there are even 50+ more features included you just have to scheme through and find what you are looking for.
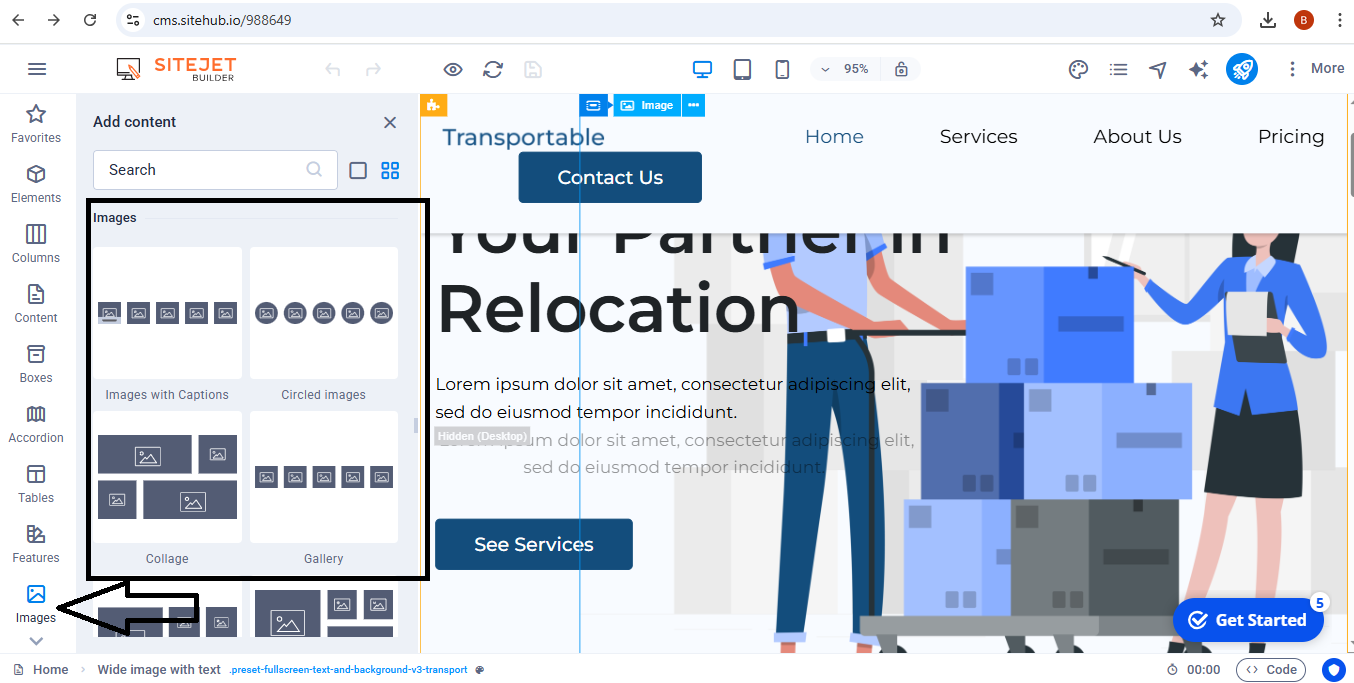
You can use this to choose different types of images. For example, you can look for images with captions, Circled mages, Collages, Gallery, Image grids, Filterable gallery, Image series, logos in circles and even logos in backgrounds.
All this depends on what you want your images to look like.
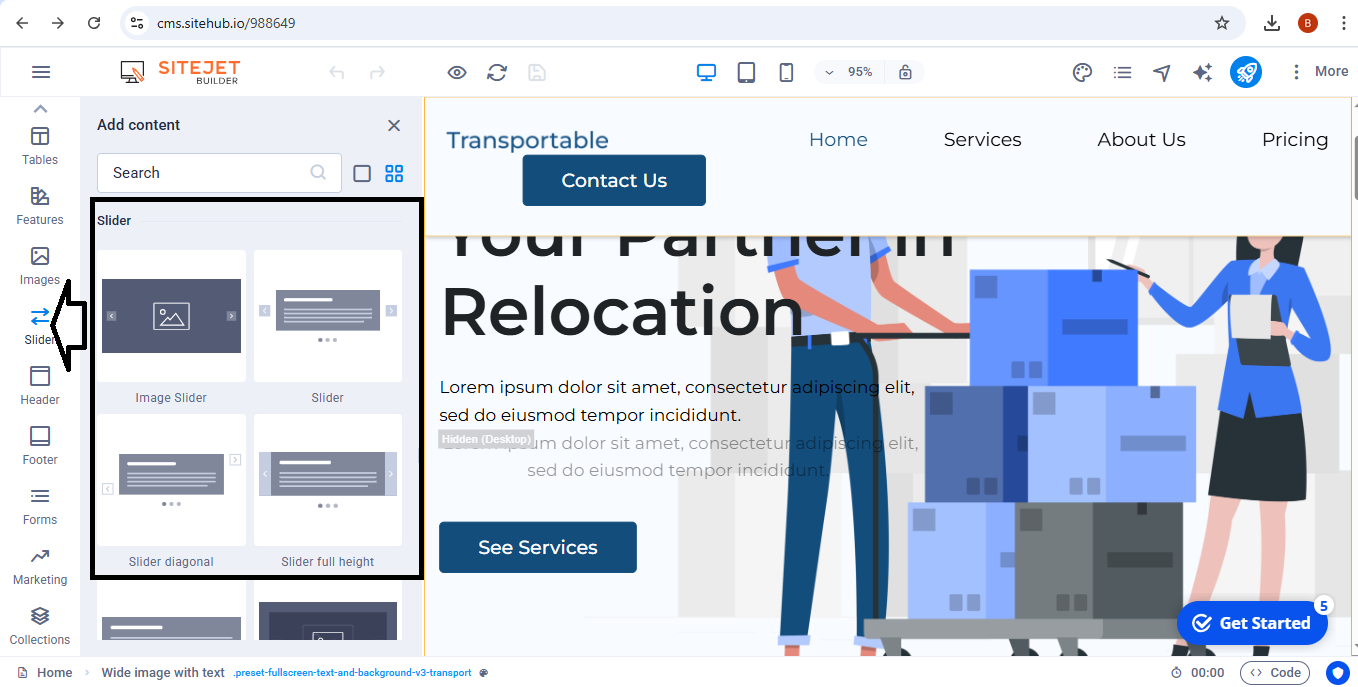 The "Sliders" option will help you choose between image sliders, diagonal sliders, sliders with full height or sliders with wide dots or sliders with a background photo.
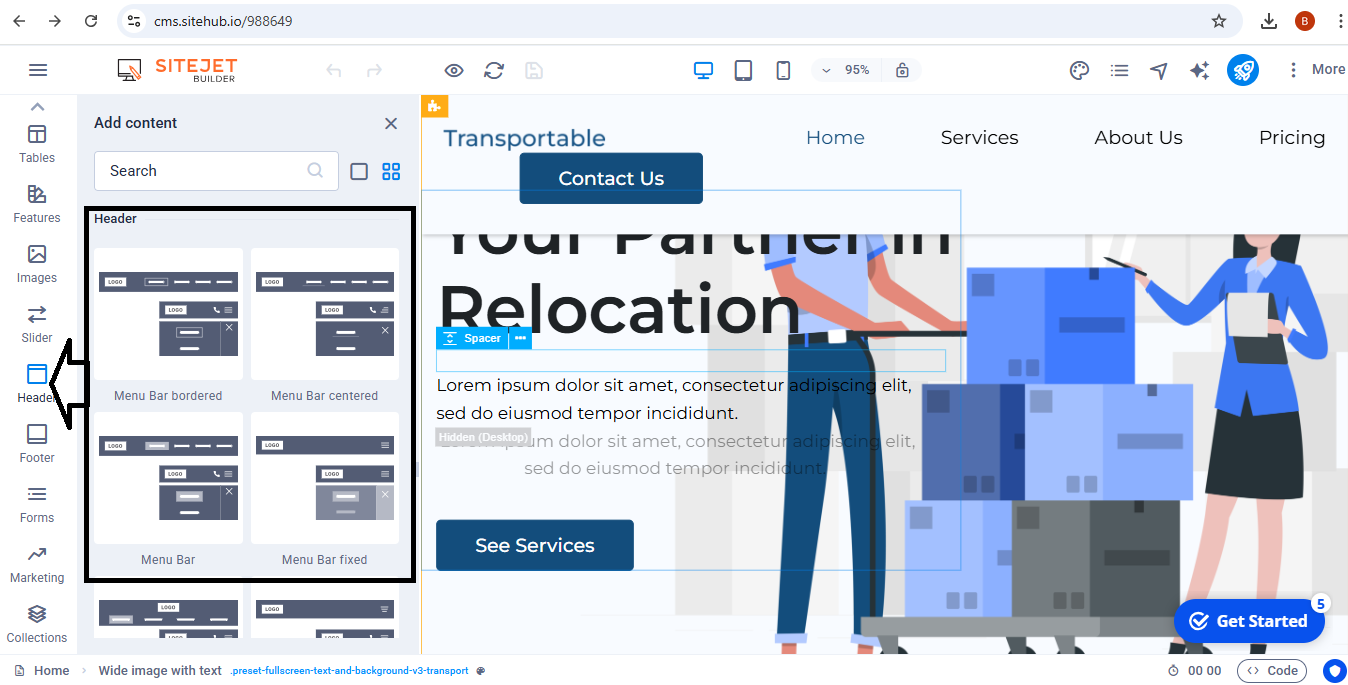
The header section has the options of different styles of menu bars. For example, the existing menu bars are: Menu bar fixed, Menu bar loking, Menu bar as trigger and other options.
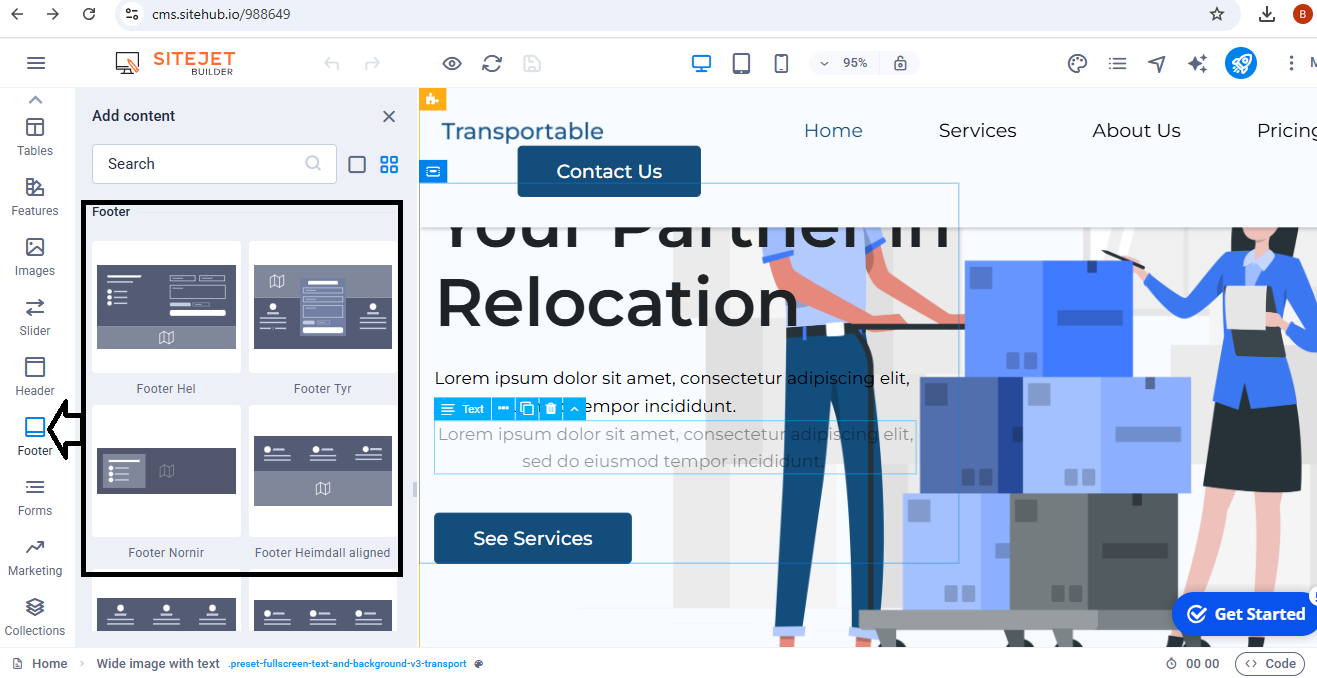
Same as header, here you also have options to choose from different footer styles. Footer Tyr, Footer Nornir and Footer Heimdal. Whatever style you need you can choose any of the provided ones.

This section offers different variations of contact forms, their inputs. For example, there are Contact forms with backgrounds, Form buttons, Captcha, Date, Phone, Uploads, Text area and so much more.
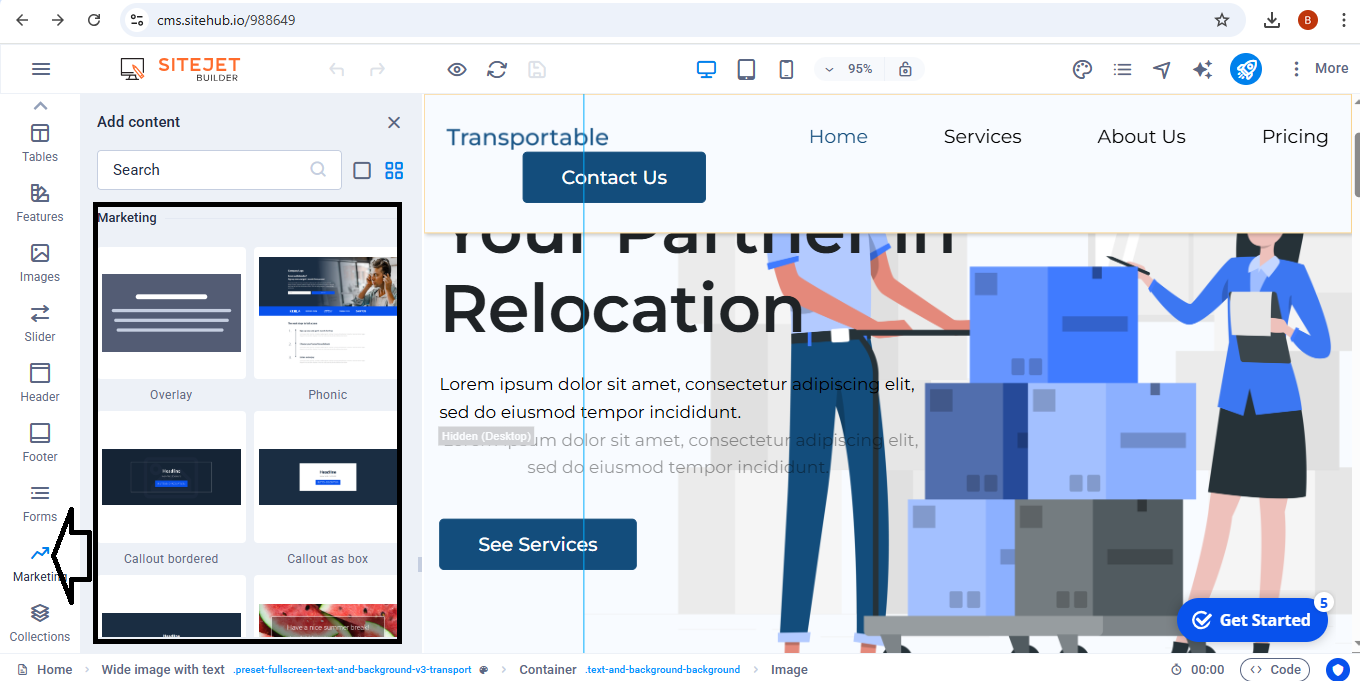
With Marketing, you can add different promotional tools sections to your website to even advertise your products more.
There are discount designs, Overlays, Phonics, Callout, Number, Email and more.
Best thing about this part, is that according to your industry, you can choose what works for that specific industry.
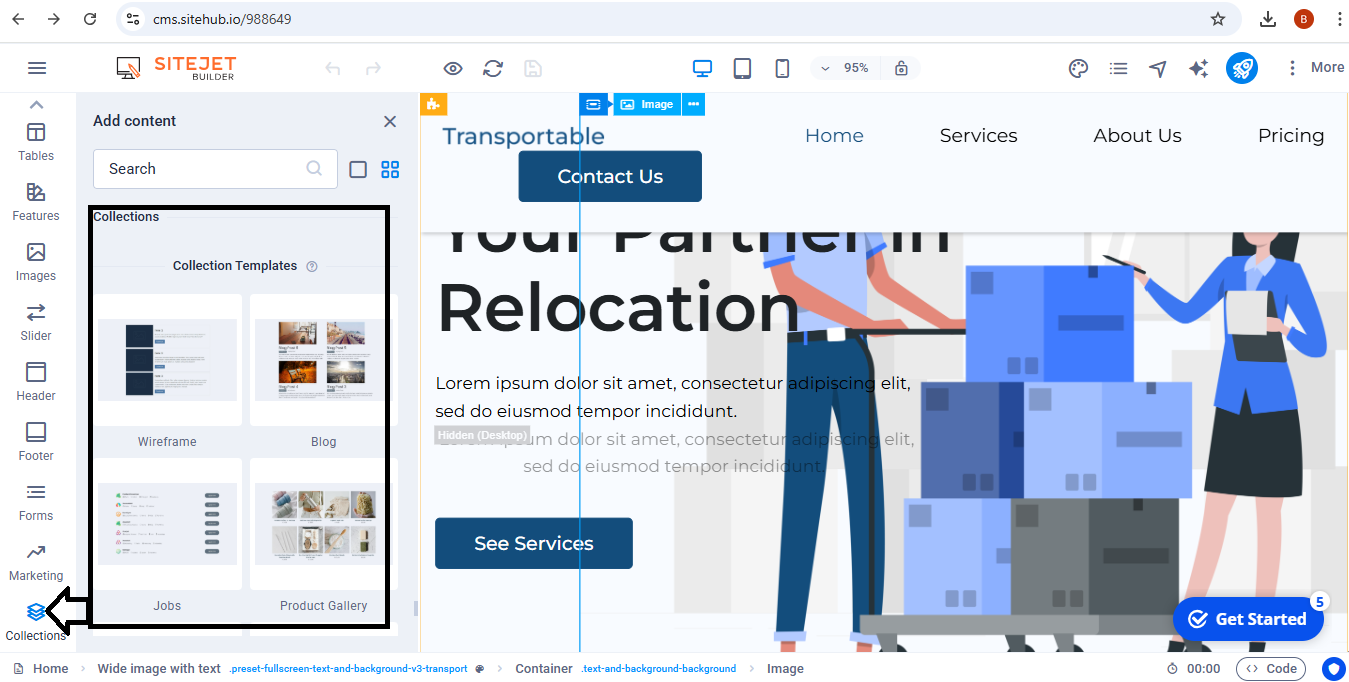
Use ready-made templates for wireframes, Blogs, Jobs, Team, Portfolio, Real Estate and Collection list.
Has creating a website with no cost at all ever been this easy?
We have other helpful guides you can choose to guide you even better.
Try building a website with this website builder for absolutely FREE in this Freemium guide until you are ready to publish. You can also use this drag and drop weebly website builder!
P.S: After selecting all the features you would like to appear in your website, please save changes.
Incase you need help with anything, just contact us. Success!


