If you need specific help, contact our Support Team.
Feel free to click the thumbs up below to help many others in need of similar solutions, thank you and God bless!
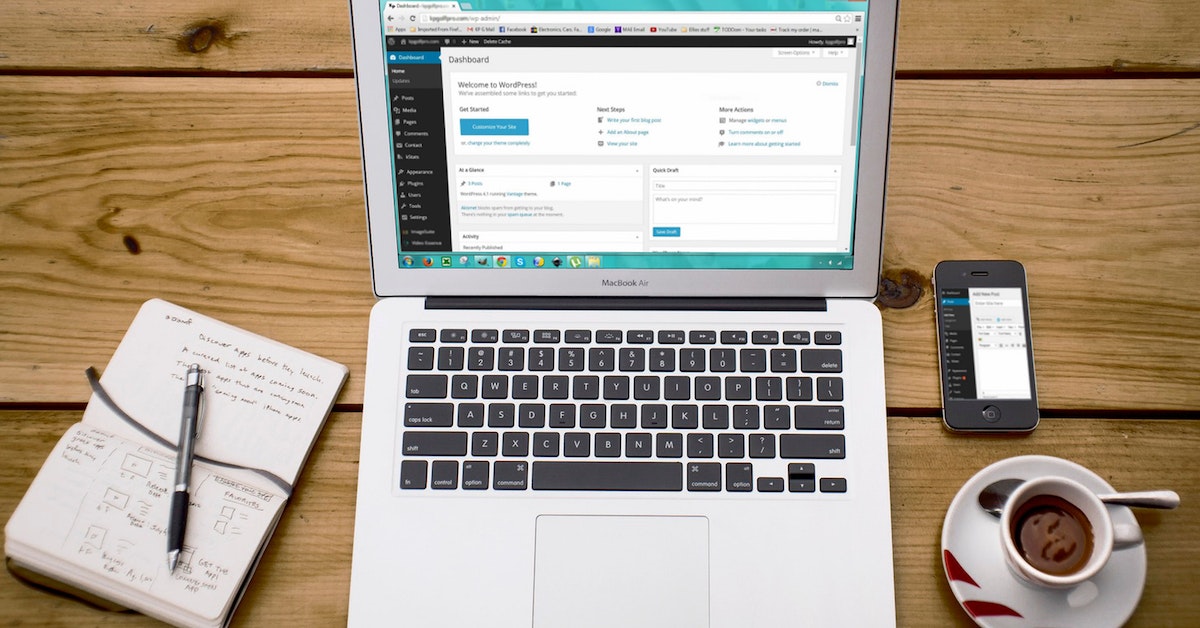
WordPress Admin is the administrative area of a website/blog built on WordPress. It’s the backend where you’ll make modifications, adjust settings, publish posts or pages and configure the appearance of the website.
It’s made up of two main parts: the left-hand menu (with sections for various customizations) and the work area (in the middle of the screen, with quick commands for modifying the website).
We’ll explain all these, but let’s start from the beginning:
To access the WordPress dashboard, you need to:

The left-hand menu in the WordPress Admin area contains sections that take you to more in-depth customizations of your website/blog.
All posts – by accessing this subsection, you’ll see the full list of posts (both published posts and drafts). You’ll also see information regarding the authors of the posts, the date when the posts were published or modified, categories where the posts belong to, and what comments correspond to posts.
See how to create posts in WordPress in a simple way.
Add new
From here, you can add a new post, save it as draft or publish it immediately.
Fill in the title of the post.
Add content for the post body.
Customize the body text using the options in the toolbar:
Click Save as Draft or hit Publish.

Categories
Here, you can create categories you’ll assign posts to. You’ll have to give a name to the category, specify the URL version of the name (called “slug”) and you can also add a description for that category.
Check how to add delete categories in Wordpress
Tags
In this section, you can add tags you’ll attach to blog posts. Like for categories, you’ll give a name to the tag, specify the URL version of the tag name (“slug”) and you can add a description for the respective tag.
From this section, you can manage the pages in your website/blog.
Pages are very easy to create, in a way that is similar to posts. However, pages are meant for static content, and they do not have a publish date. Important pages in a website/blog are the About us page, the Contact page, the FAQ page, the Terms and Conditions page, etc. In comparison, posts represent temporal content, they have a publish date and they are the main content of a blog.
All pages – you can view the list of all pages in your website, with their titles, the author, date when the pages were published, and comments corresponding to them.
Add new
This section (Add new page) is similar to Add new post. Therefore, the editing options are the same, allowing you to use bold text, italics, structure text in paragraphs or headings, align text, integrate links or add media to the page.
Immediately after posts, the Media section is available, with 2 subsections:
Library
This is the list of all media files that were uploaded. You’ll find them in a table, with the date when they were uploaded, and the page/post they were attached to.
Add new media file
Here, you can easily drop images or video files, so they are added to the media library for your blog/website.

Read more on :How To Add a New Media Comprehensive Guide
Here, you’ll find the list of comments to your blog posts. Hovering your mouse over a comment will let you use buttons for approving/replying to/editing/deleting comments or marking them as spam.
View how you can manage comments for your WordPress site/blog.

If you need specific help, contact our Support Team.
Feel free to click the thumbs up below to help many others in need of similar solutions, thank you and God bless!
Let's get you started


Get a free consultation on web design, hosting, domains & digital marketing.